- Create an OCAPI client in Account Manager so Numeral can sync your catalog and orders
- Install the
plugin_numeralcartridge on your storefront - Connect your SFCC instance to Numeral and validate the integration
This integration requires Business Manager admin access, Account Manager access, and a WebDAV client (Cyberduck recommended).
Phase 1 — Configure the OCAPI client
1. Sign in to Account Manager
Go to account.demandware.com and sign in with your administrator credentials.
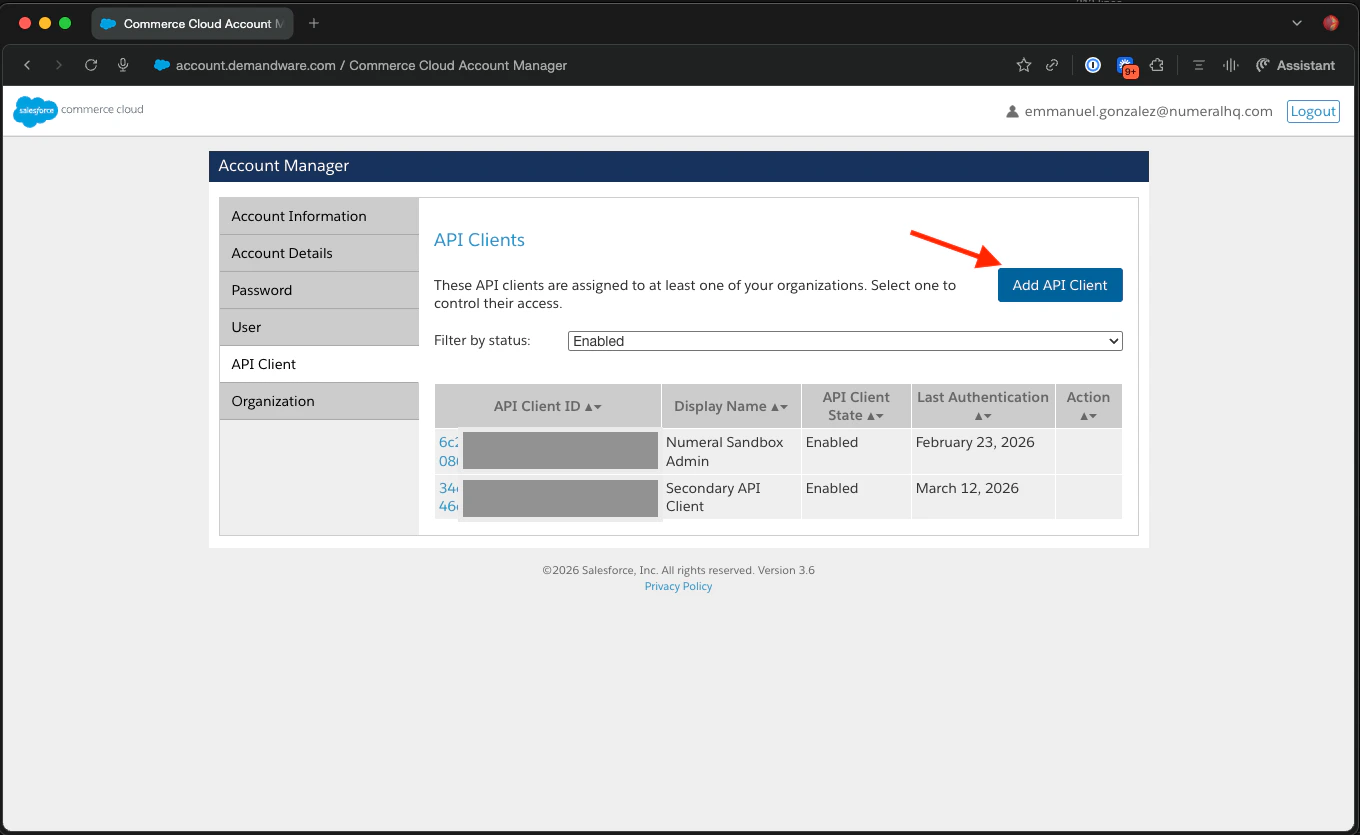
2. Add an API client
Under API Client, click Add API Client. Use Display NameNumeral Integration.
3. Configure the API client
Set the following fields:- Token Endpoint Auth Method:
client_secret_post - Access Token Format:
JWT - Default Scopes: leave blank
- Allowed Scopes:
sfcc.productssfcc.promotionssfcc.customerlistssfcc.catalogssfcc.gift-certificatessfcc.source-codessfcc.orders
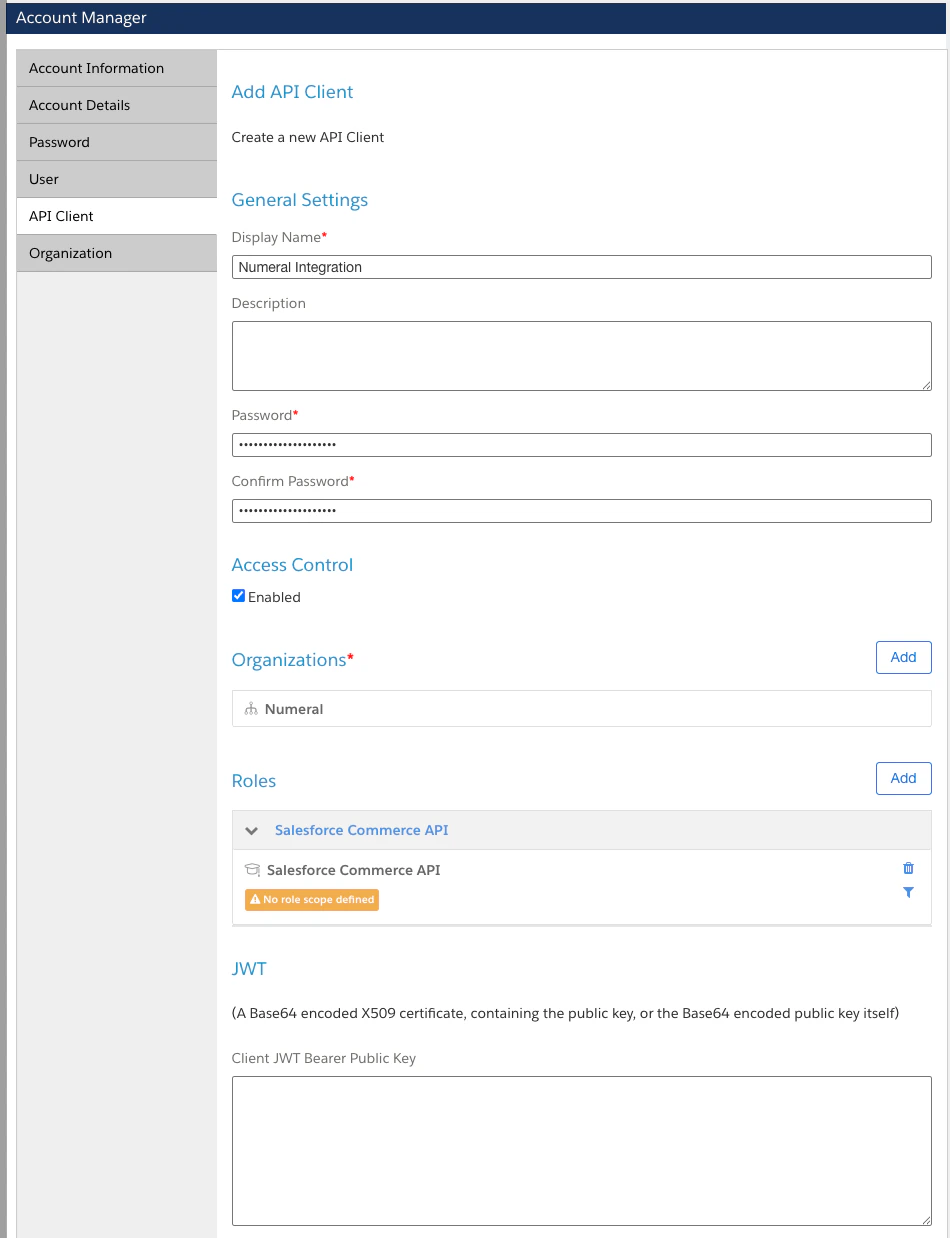
4. Assign roles
Assign the API client the Salesforce Commerce API and Sandbox API User roles, scoped to the organization that owns your storefront.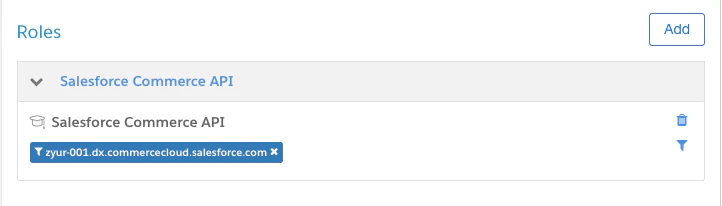
5. Set the redirect URI
Add this redirect URI: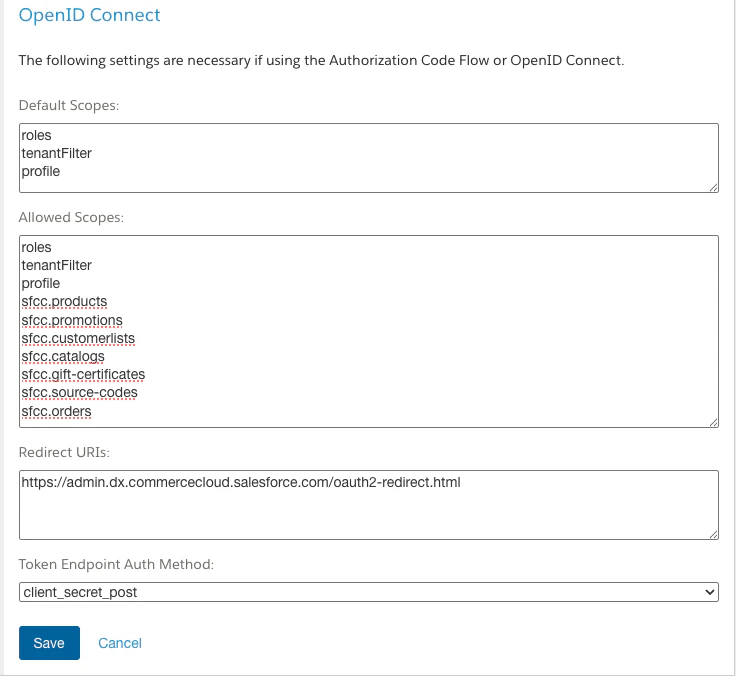
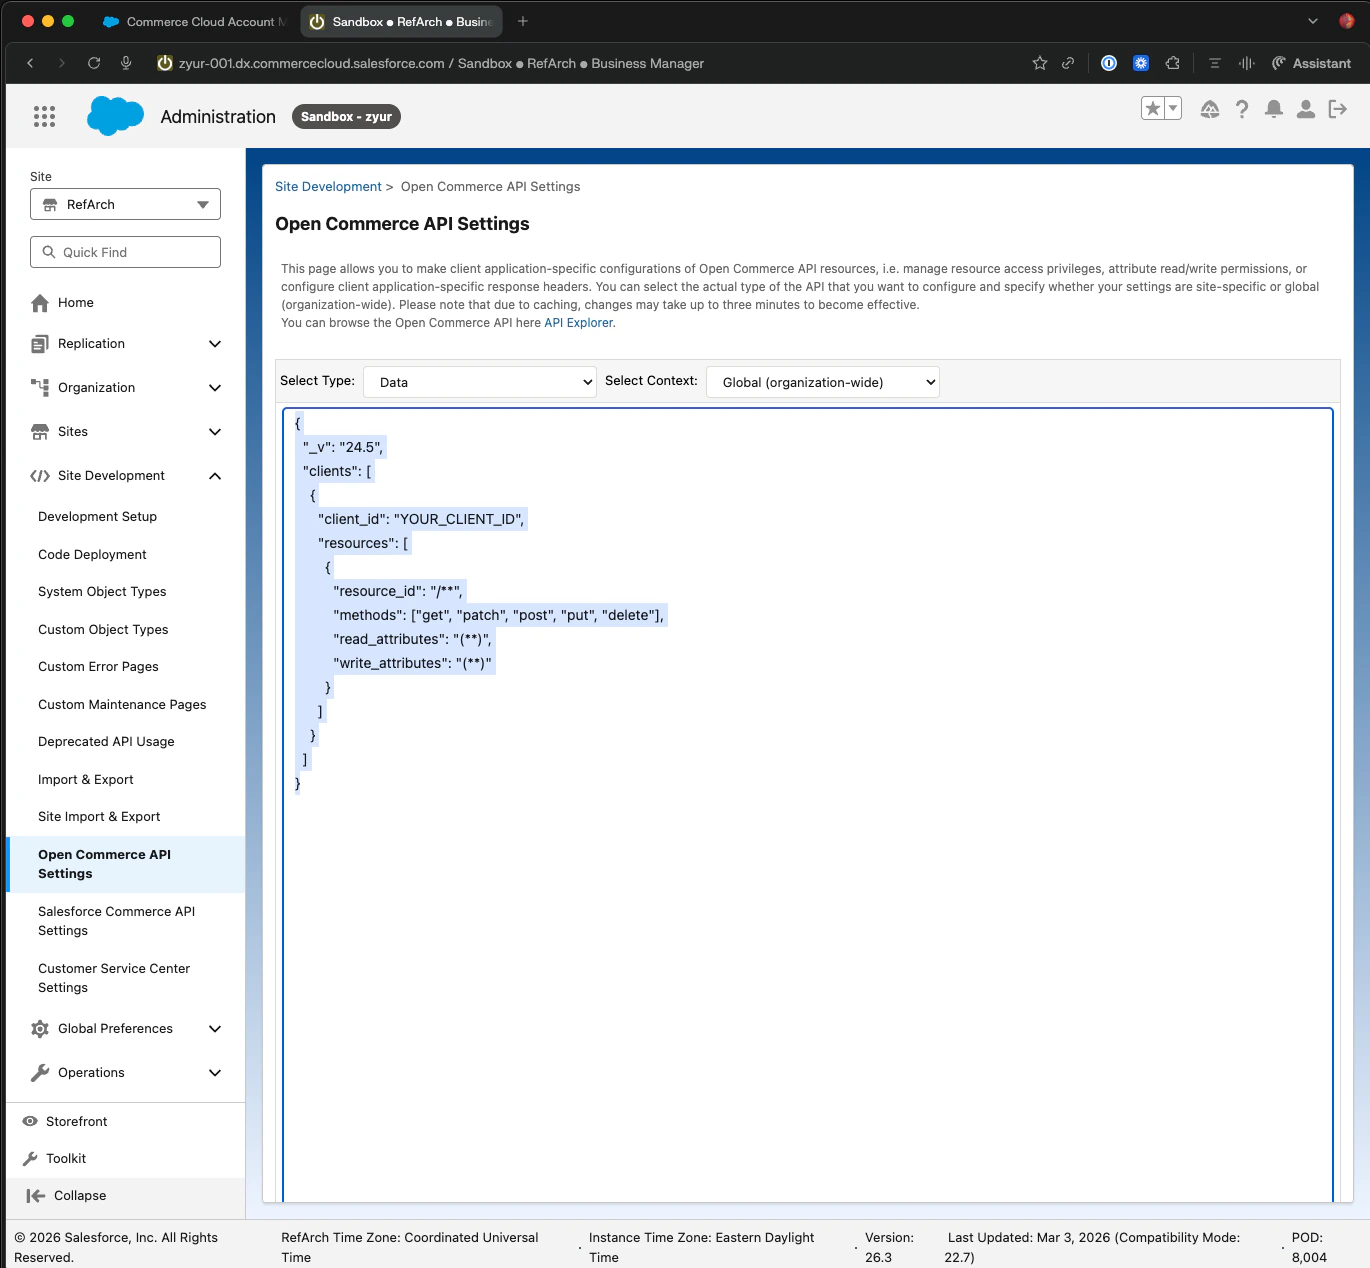
6. Configure OCAPI Shop API and Data API
In Business Manager → Administration → Site Development → Open Commerce API Settings, paste the JSON configuration provided by Numeral for both Shop API and Data API contexts.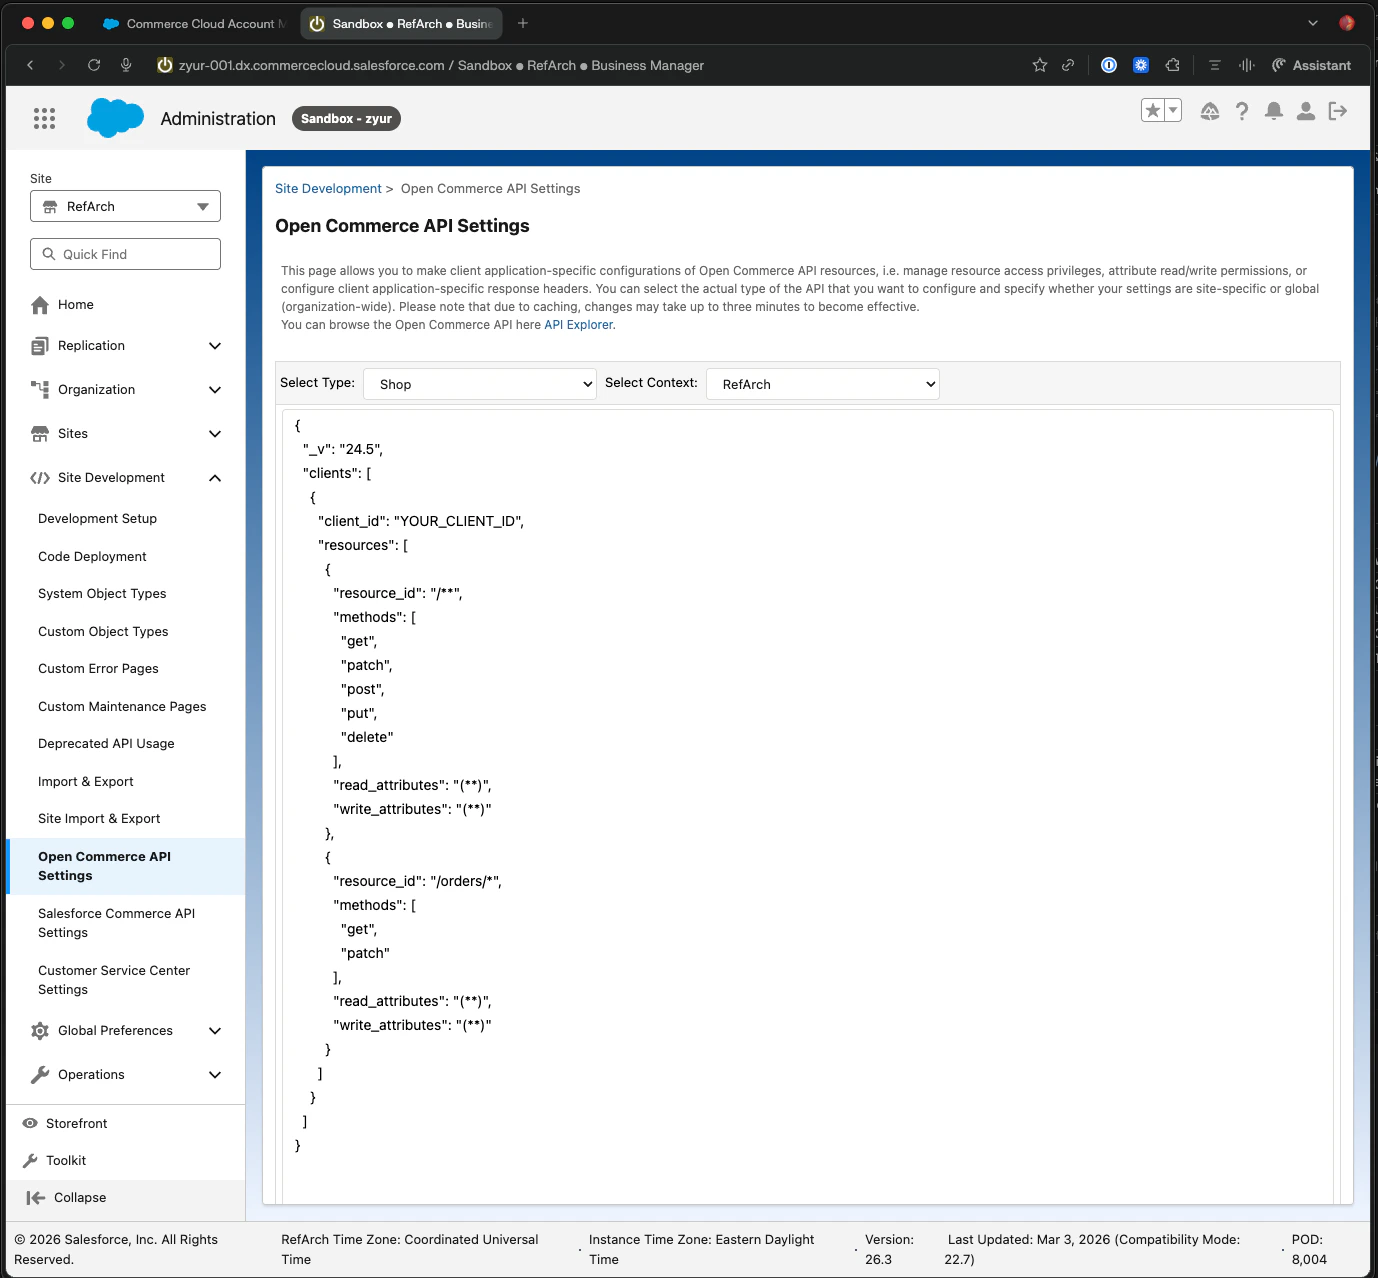
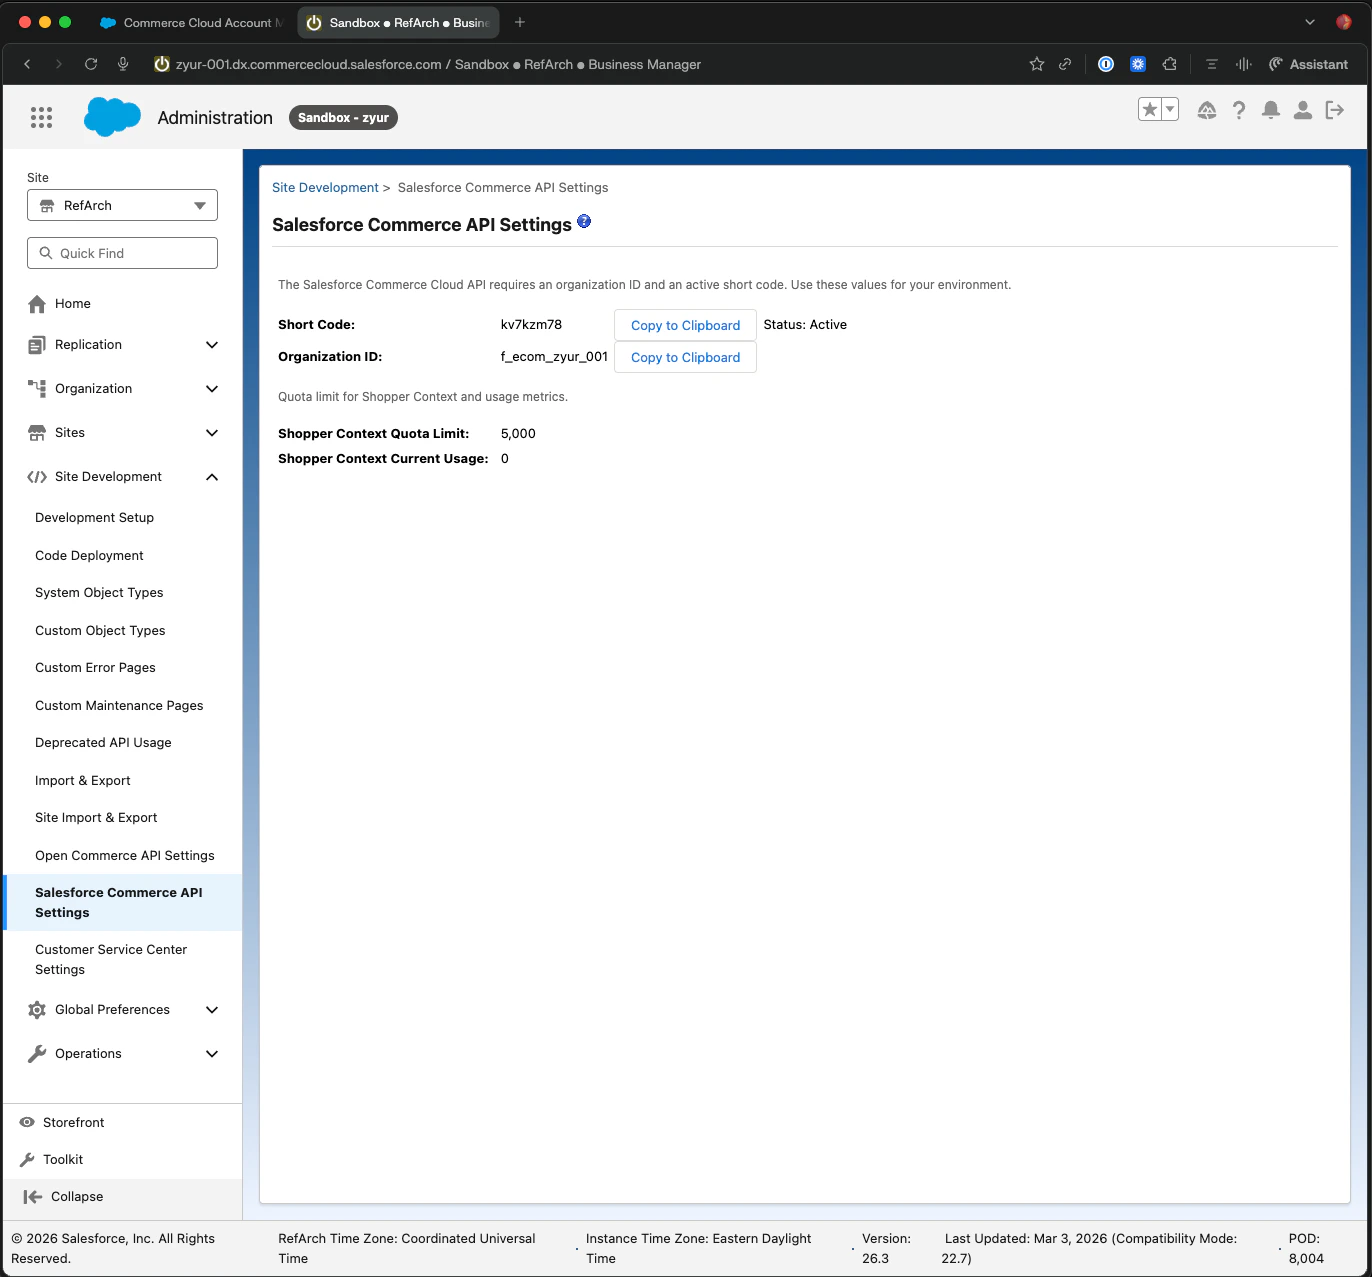
7. Capture the connection details
Save the seven values you’ll provide to Numeral:| Value | Where to find it |
|---|---|
| Client ID | Account Manager → API Client |
| Client Secret | Account Manager → API Client (shown once) |
| Organization ID | Business Manager → Administration → Site Development → Salesforce Commerce API Settings |
| Short Code | Same screen as Organization ID |
| Instance Hostname | The host portion of your Business Manager URL |
| Site ID | Business Manager → Administration → Sites → Manage Sites |
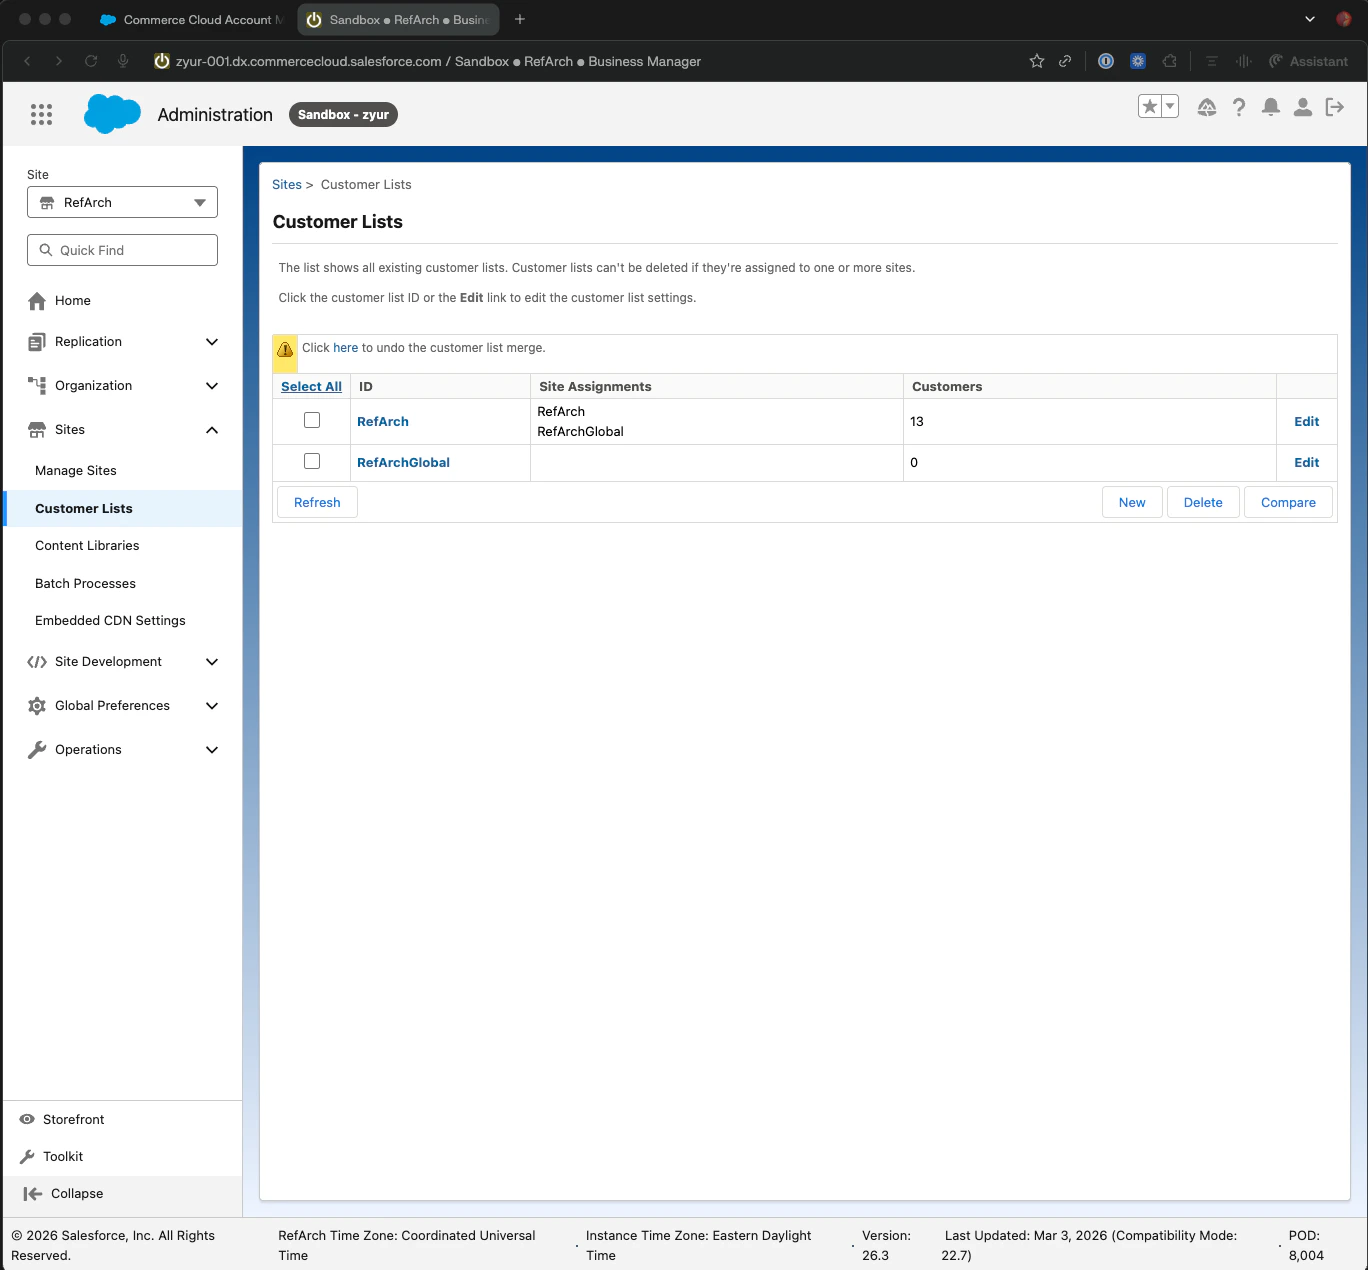
| Customer List ID | Business Manager → Administration → Sites → Customer Lists |
Phase 2 — Install the cartridge
1. Connect to WebDAV
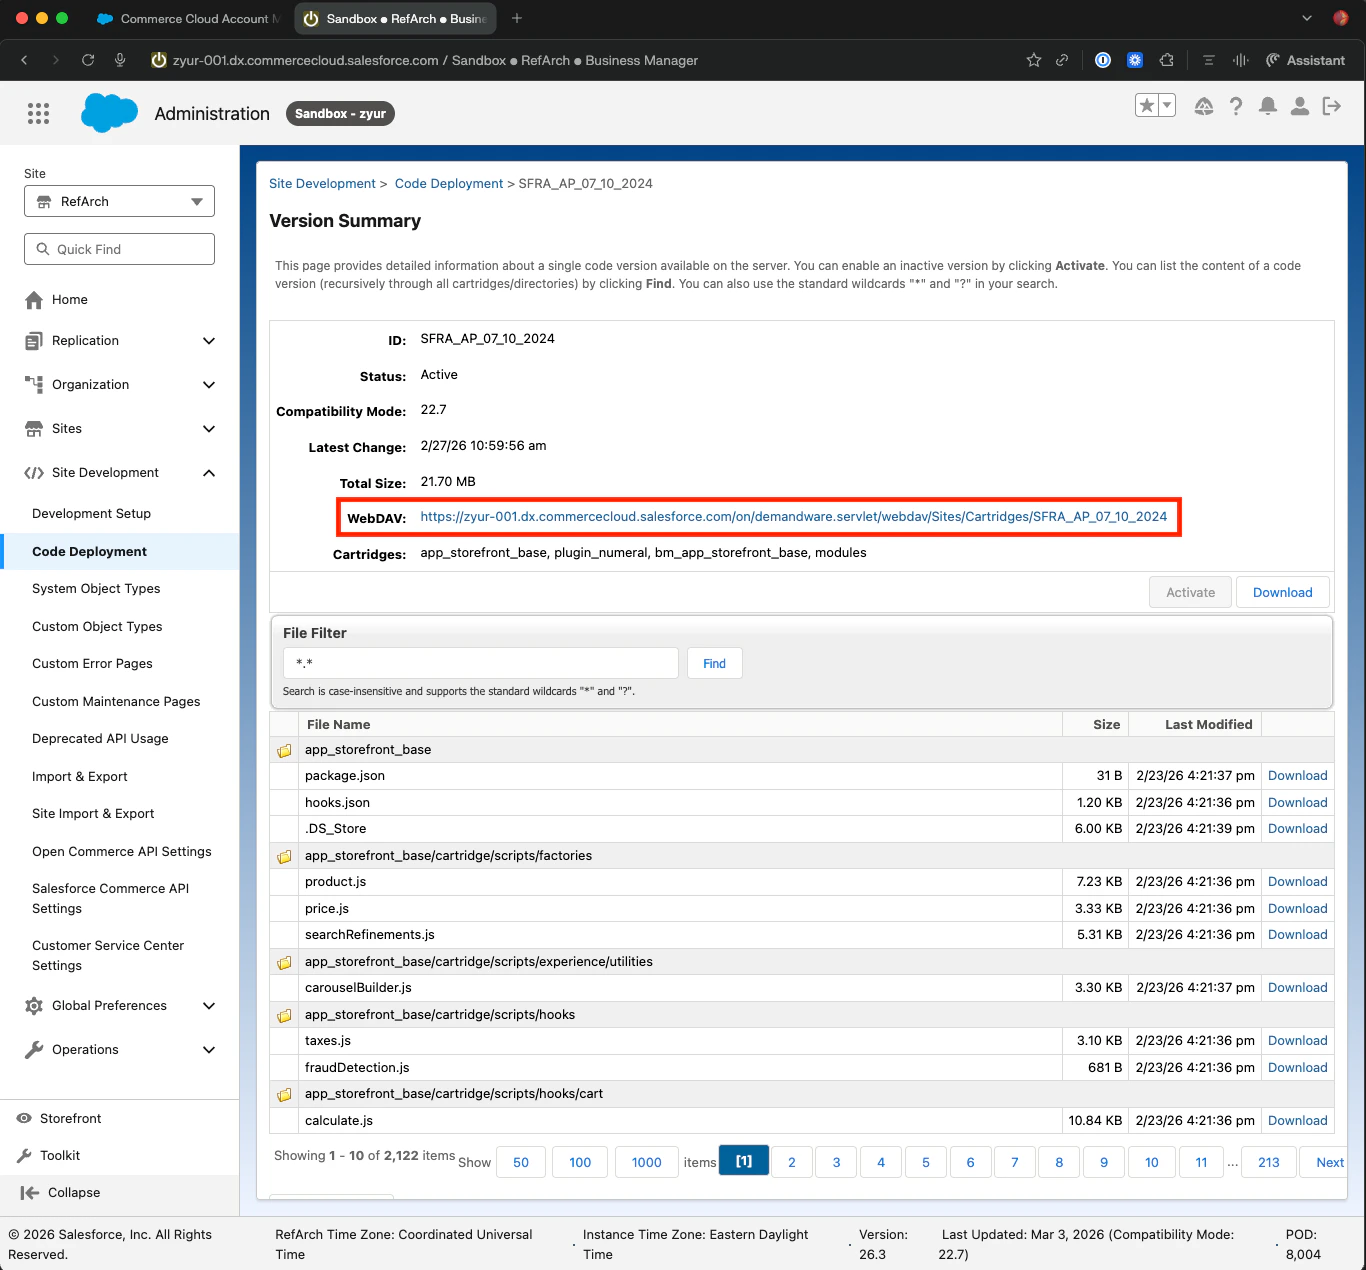
Theplugin_numeral cartridge is delivered as a zip. You’ll upload it to your sandbox via WebDAV. Find your WebDAV URL in Business Manager under Administration → Site Development → Development Setup.
2. Connect with Cyberduck
In Cyberduck, create a new bookmark with WebDAV (HTTPS), the host portion of your sandbox URL, and your Business Manager username/password.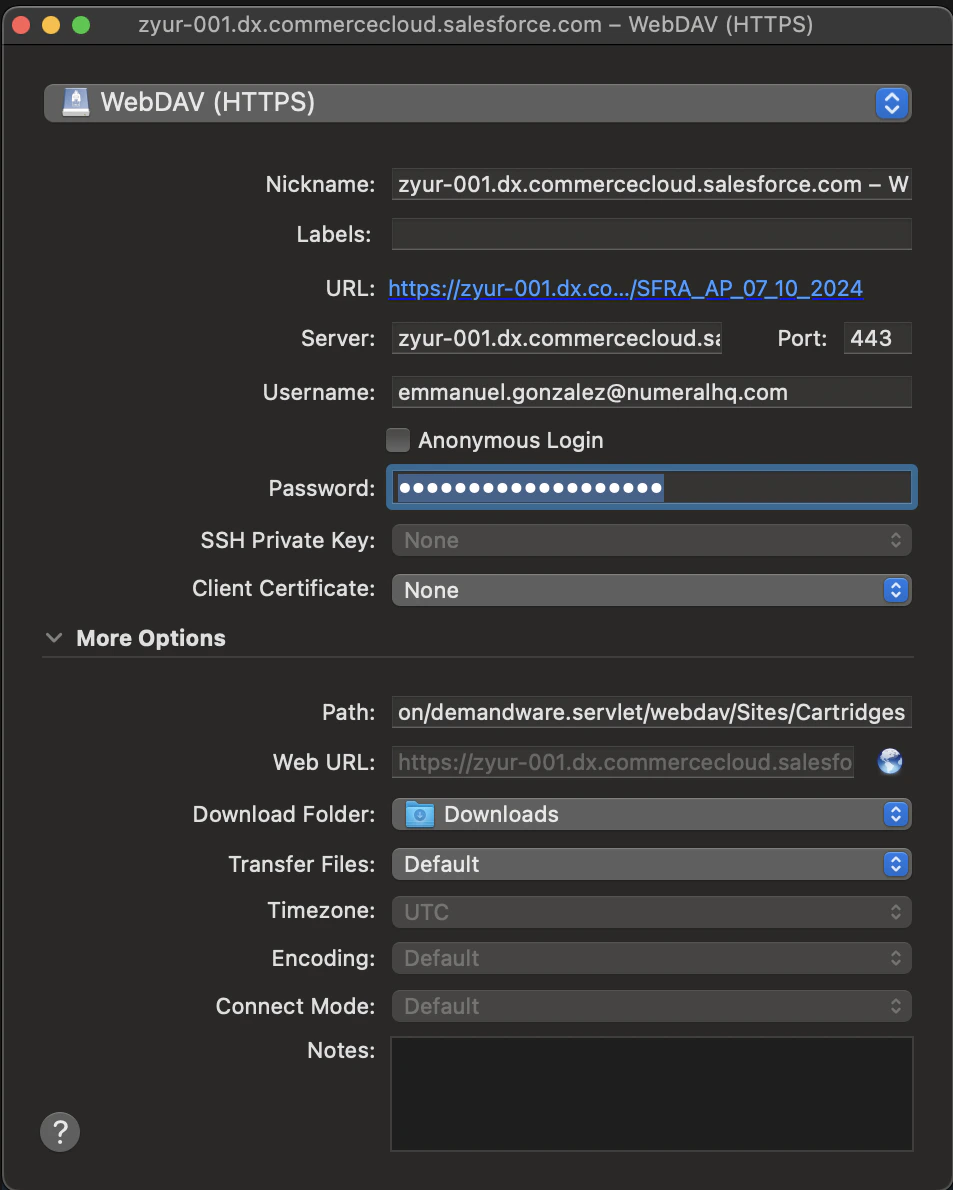
3. Upload the cartridge
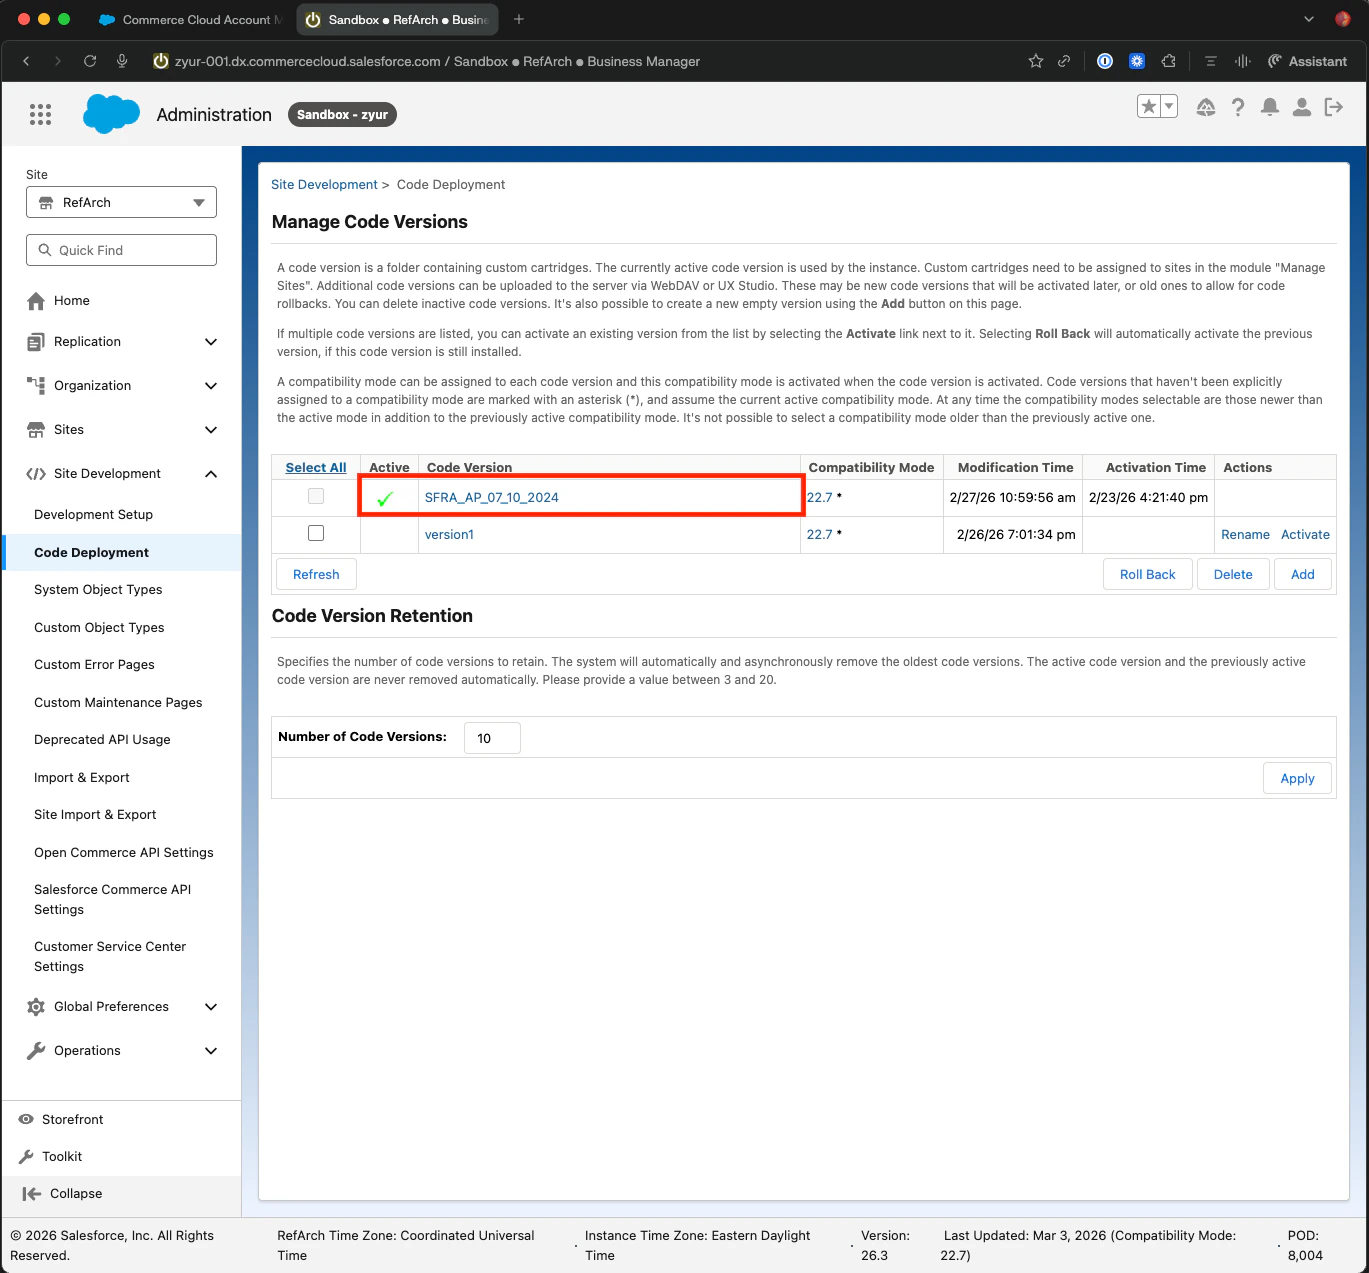
Navigate to/Cartridges/{your-version-number}/ and upload the plugin_numeral folder from the cartridge zip Numeral provided.

4. Update the cartridge path
In Business Manager → Administration → Sites → Manage Sites →{your site} → Settings, prepend plugin_numeral to the Cartridges path so it loads first:

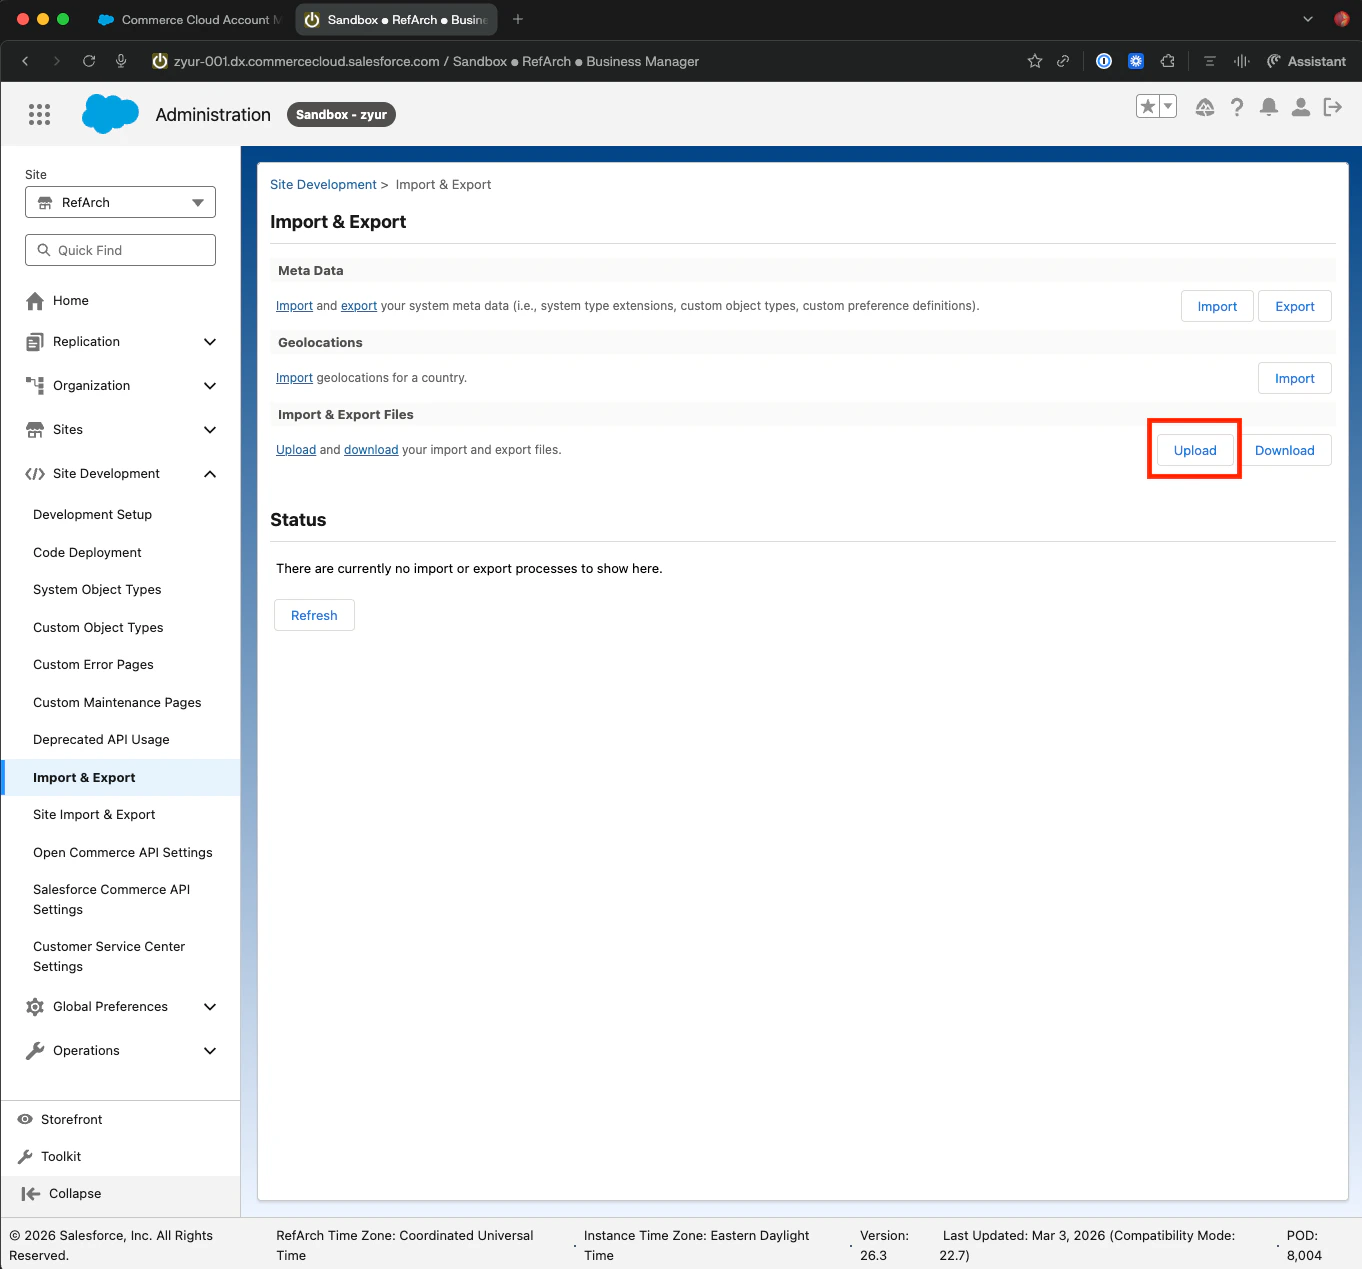
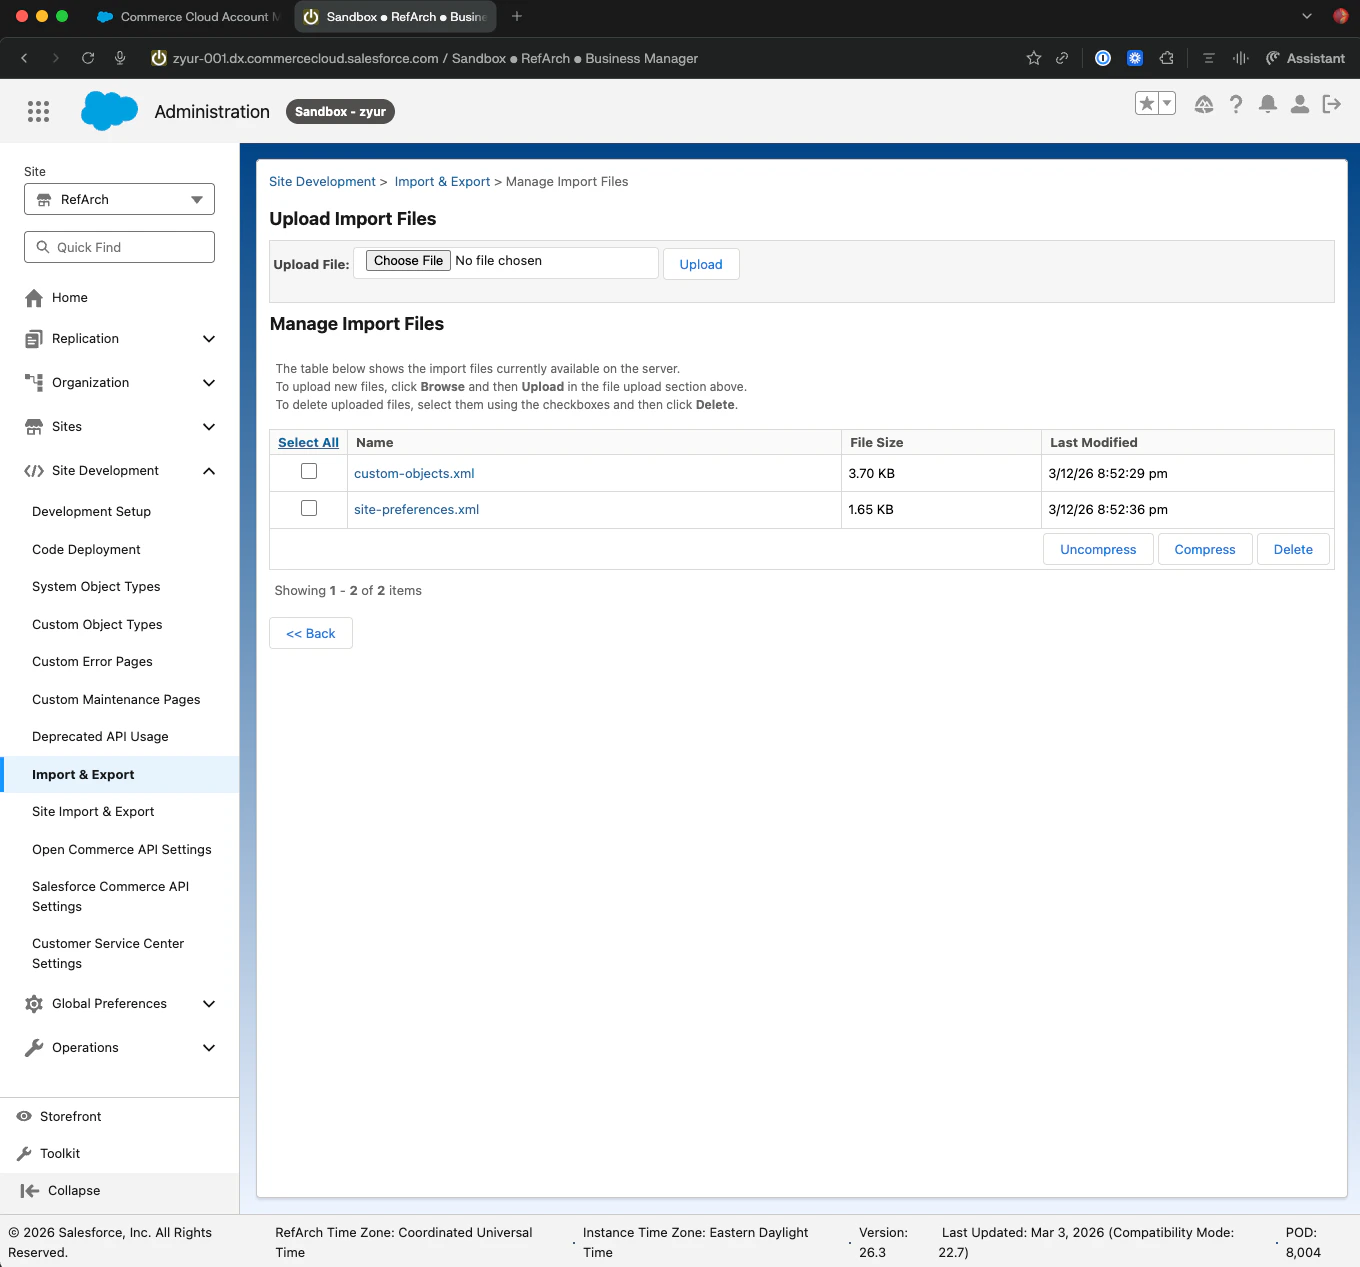
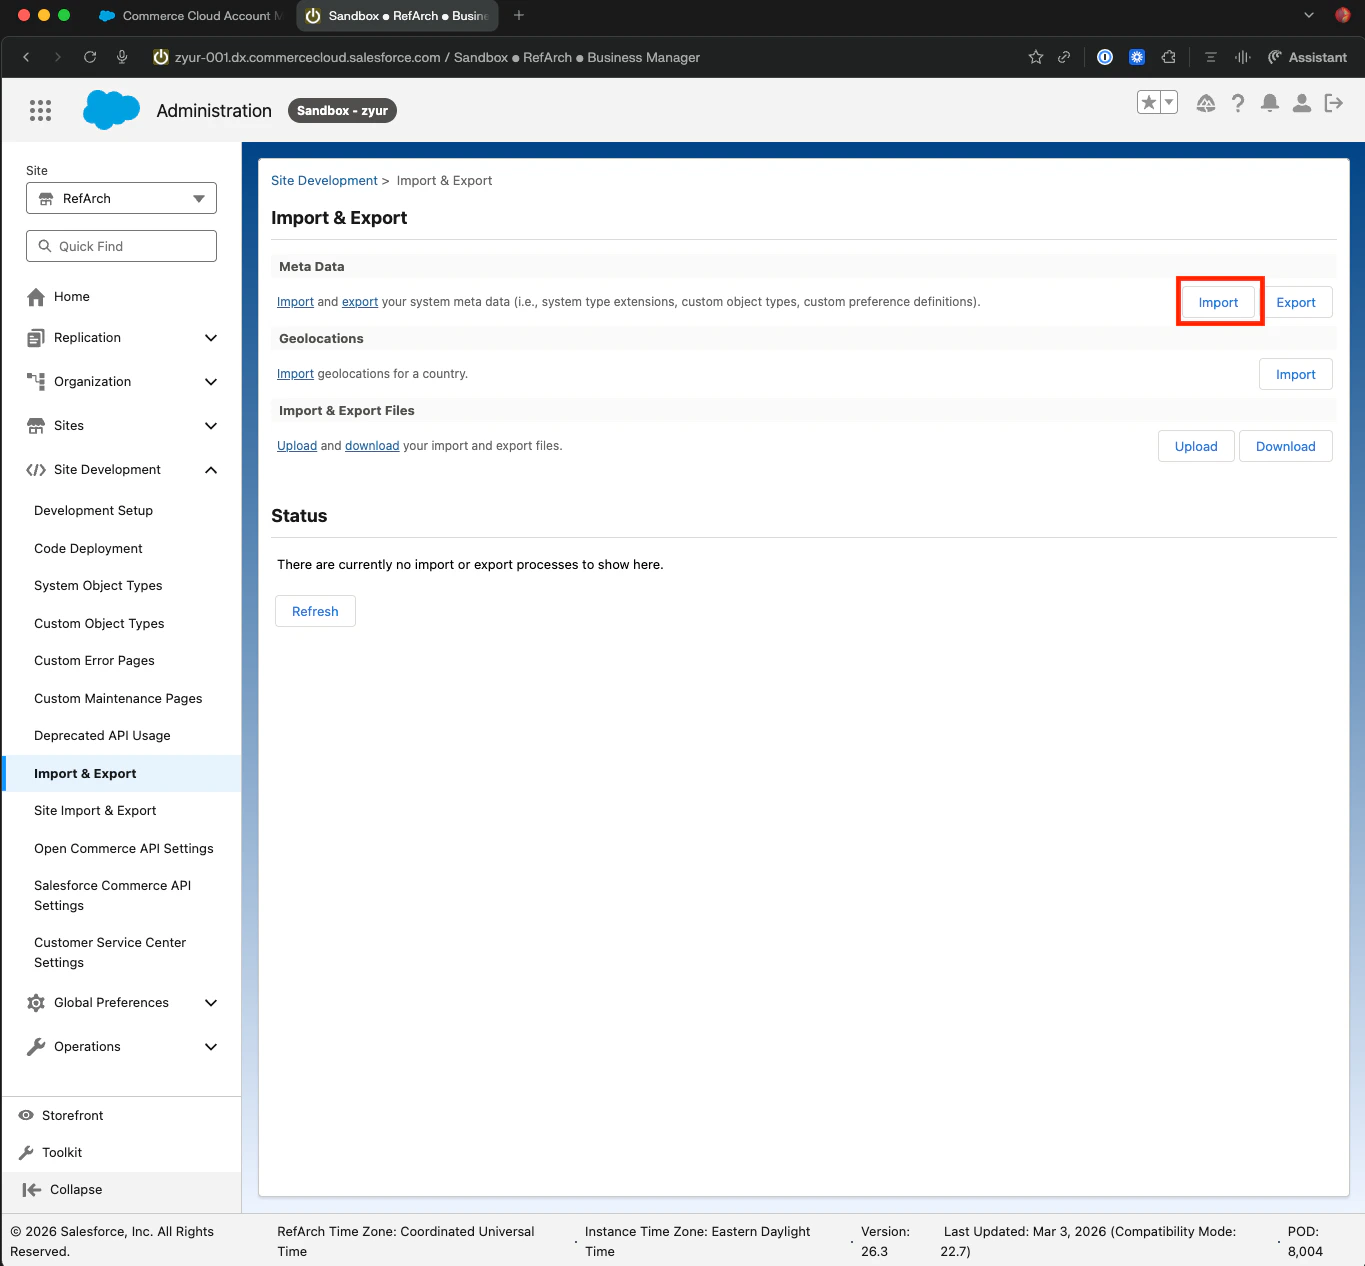
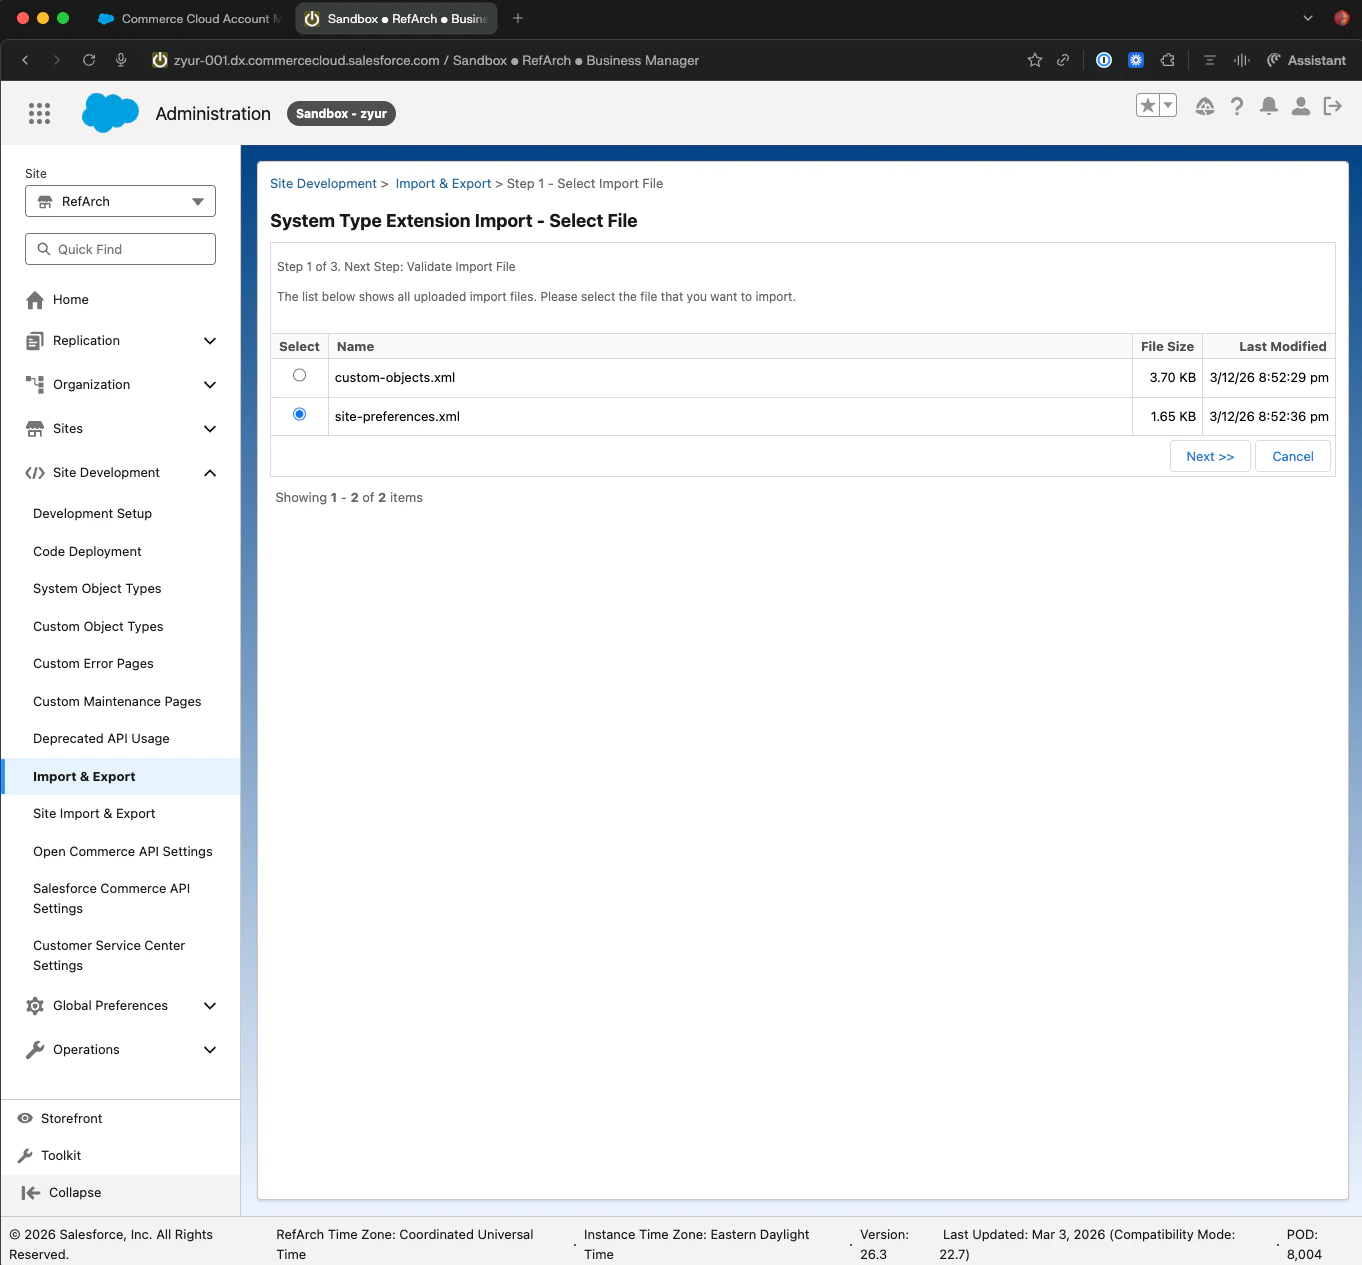
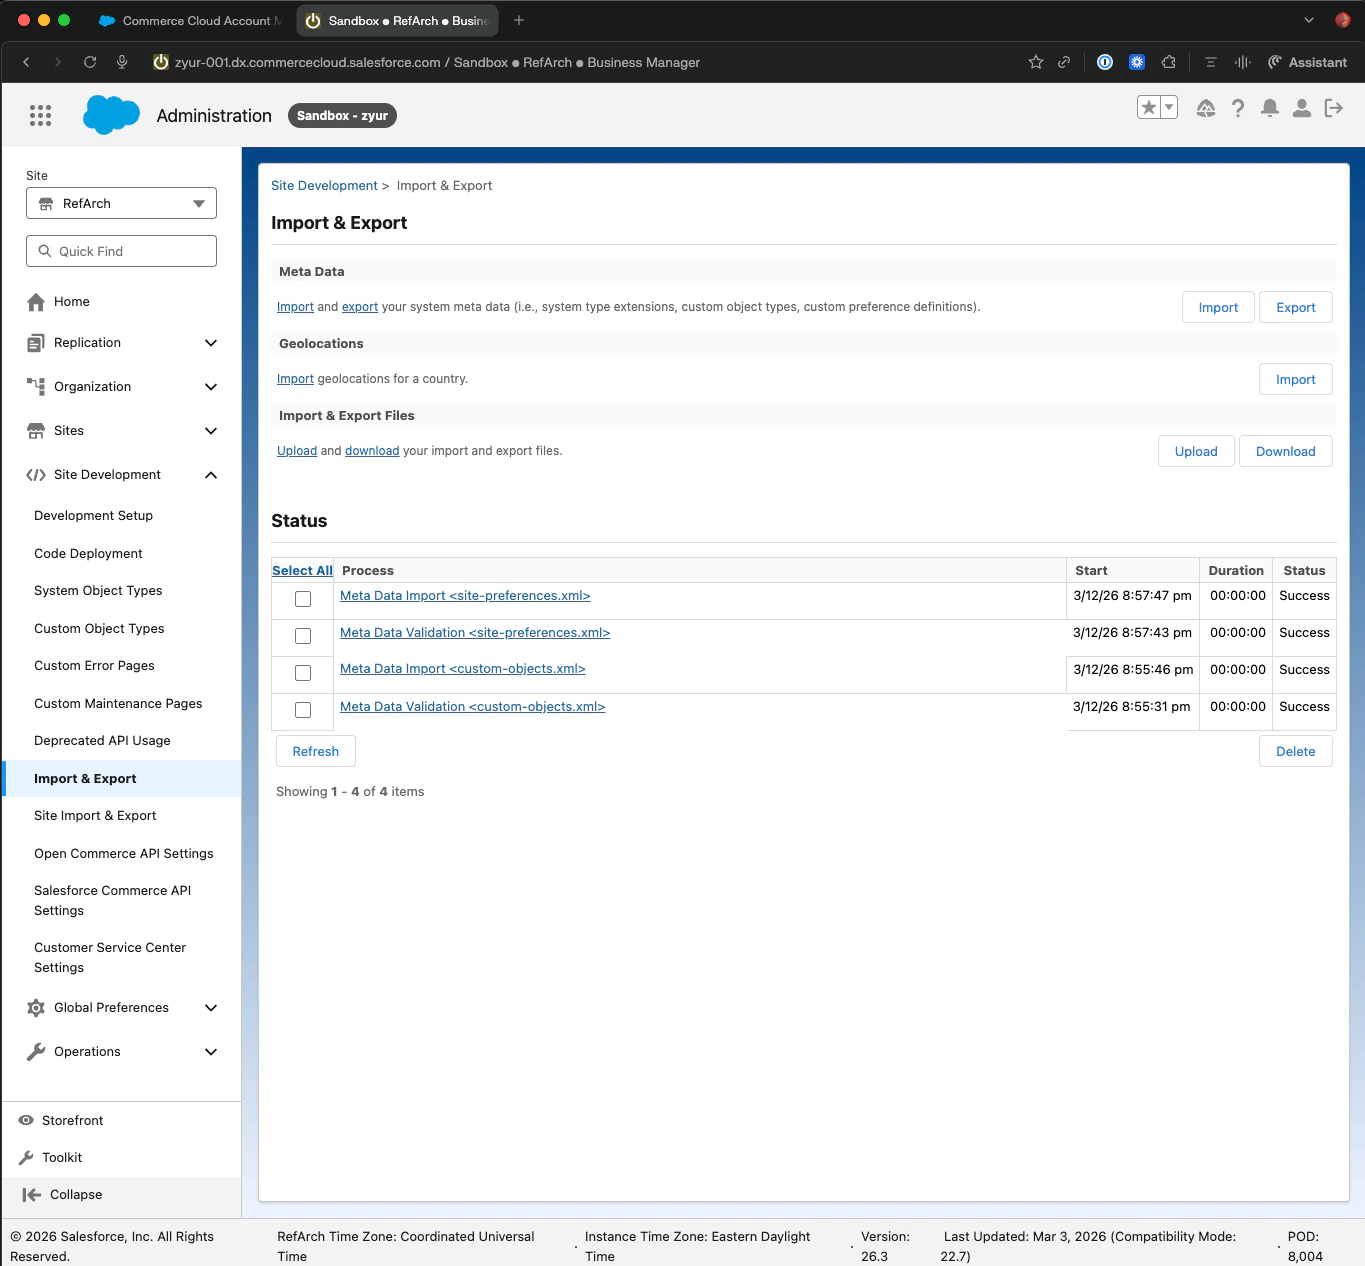
5. Import the metadata
The cartridge zip includes two metadata files:site-preferences.xml and custom-objects.xml. Import both via Administration → Site Development → Site Import & Export.
| Preference | Purpose |
|---|---|
c_numeralApiKey | Your Numeral API key |
c_numeralApiBaseUrl | Numeral API base URL (e.g. https://api.numeralhq.com) |
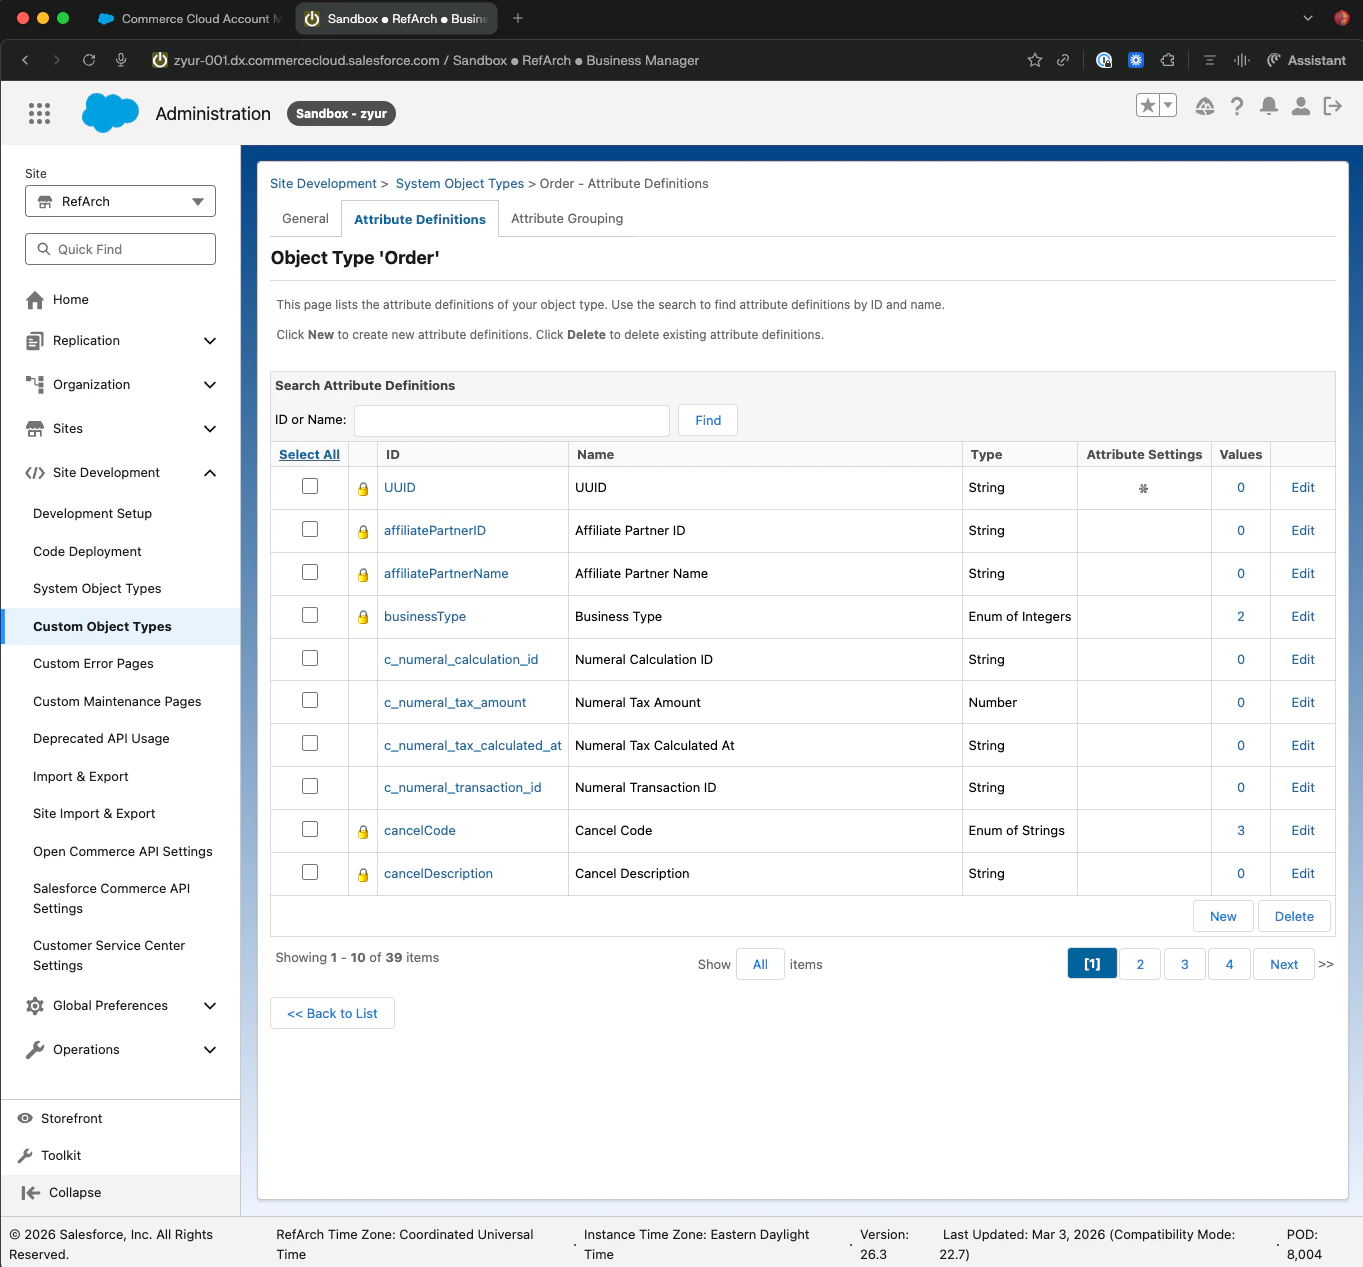
c_numeral_tax_amountc_numeral_calculation_idc_numeral_transaction_idc_numeral_tax_calculated_at
Phase 3 — Connect to Numeral
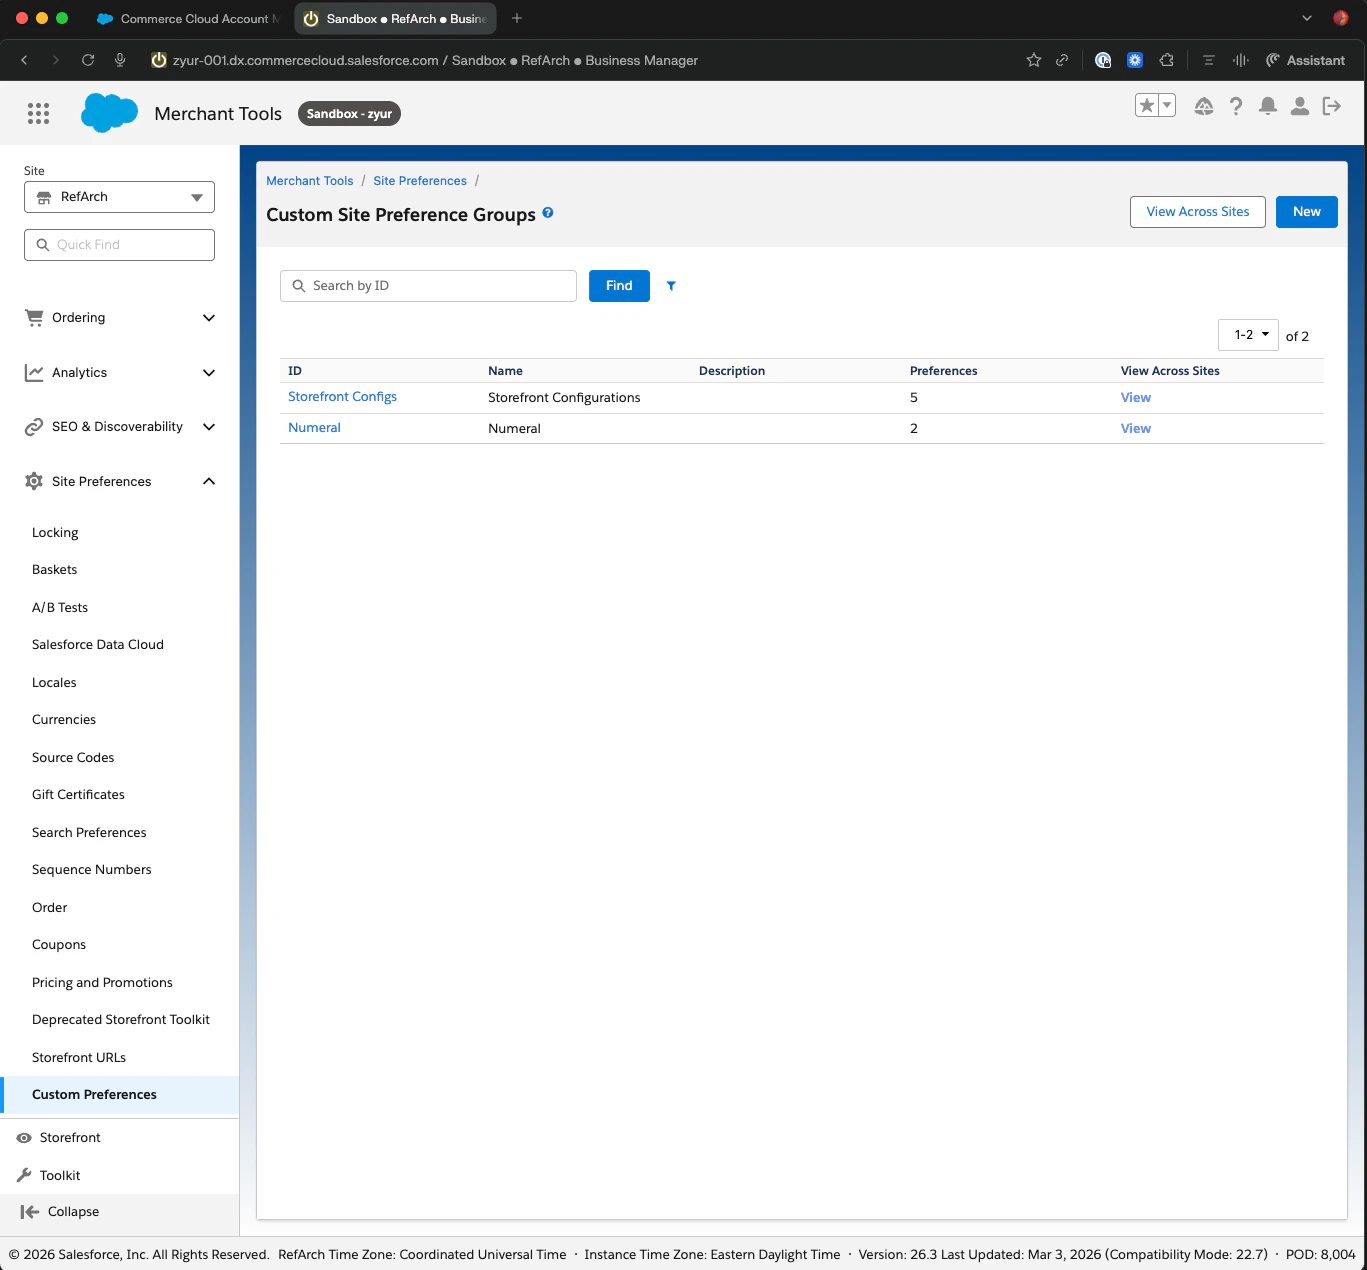
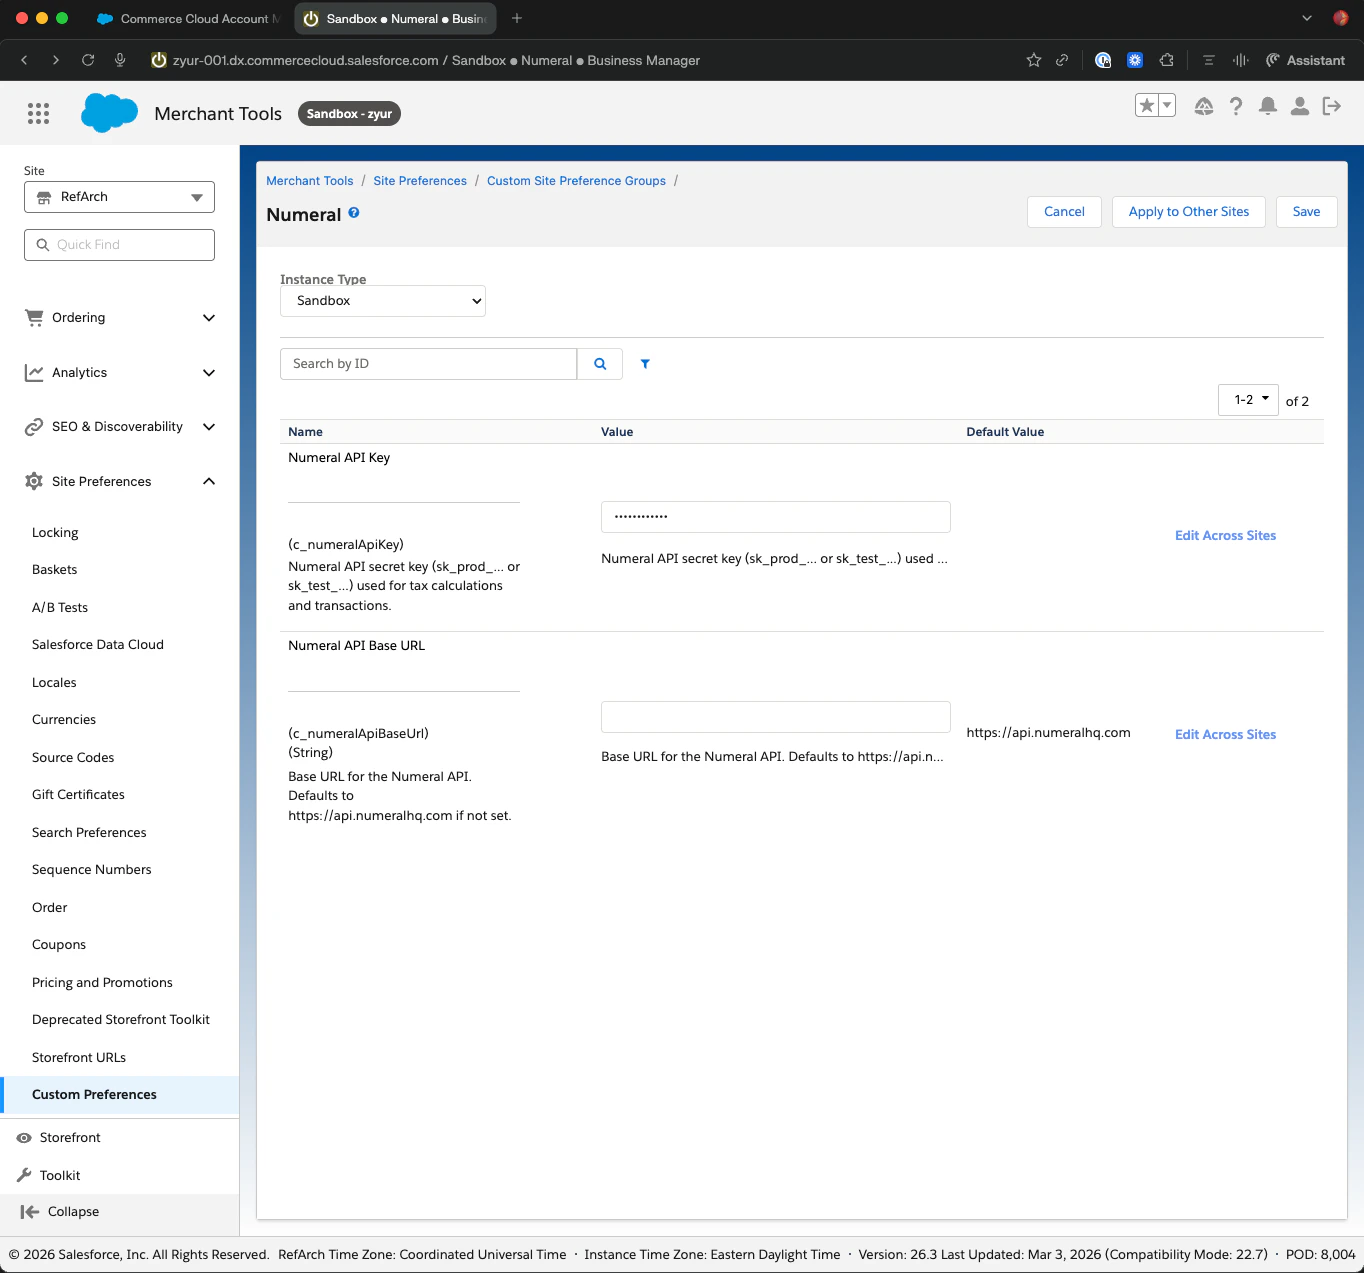
1. Configure the API key in SFCC
Setc_numeralApiKey and c_numeralApiBaseUrl under Merchant Tools → Site Preferences → Custom Preferences → Numeral.
2. Run a quick checkout test
Place a test order on your sandbox storefront. Confirm tax appears on the order summary.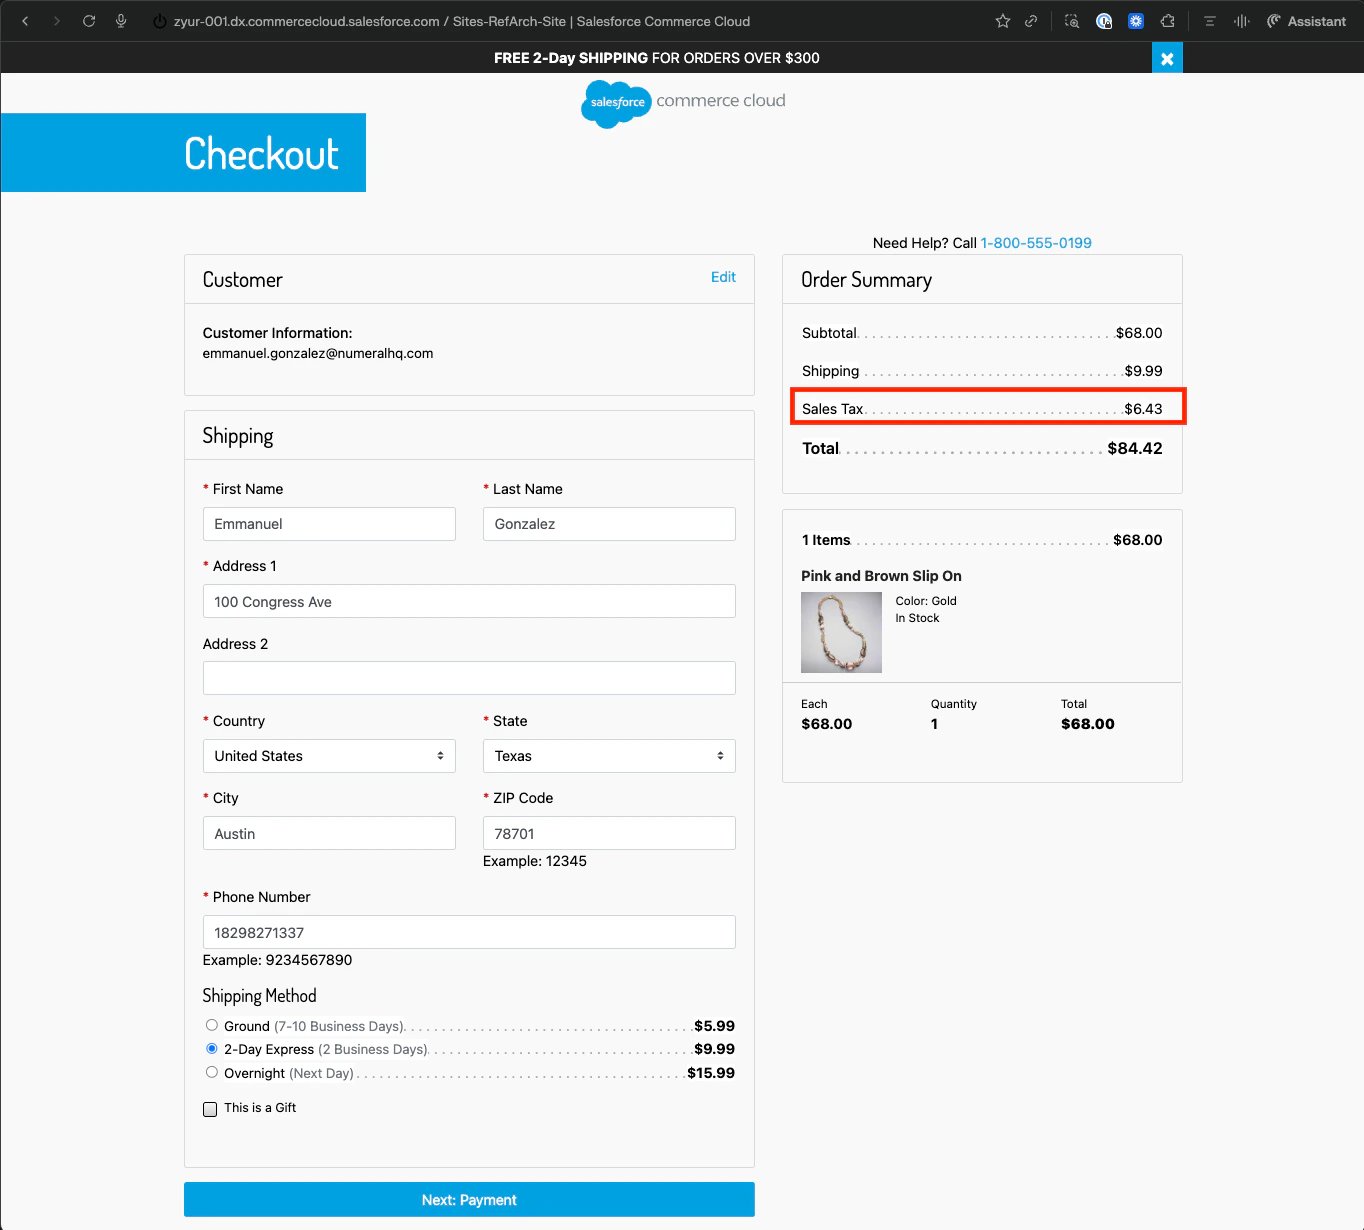
3. Inspect the logs
In Business Manager, go to Administration → Site Development → Custom Log Settings to view the Numeral request and response payloads. Confirm there are no errors.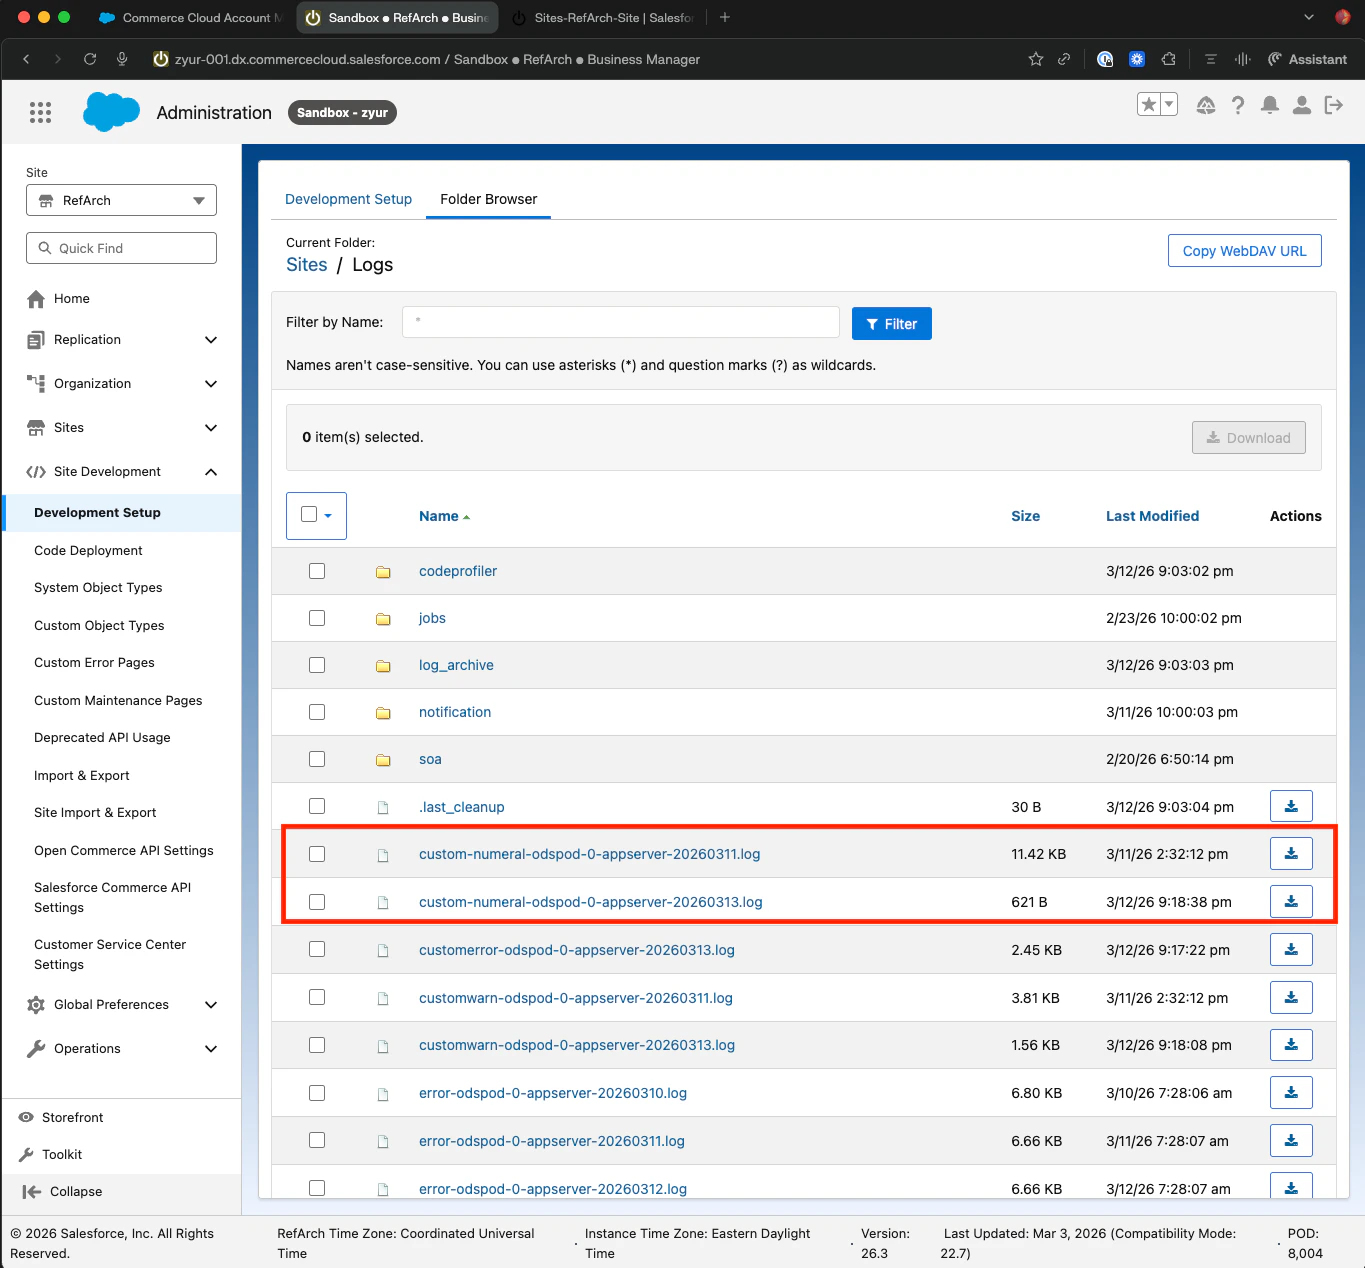
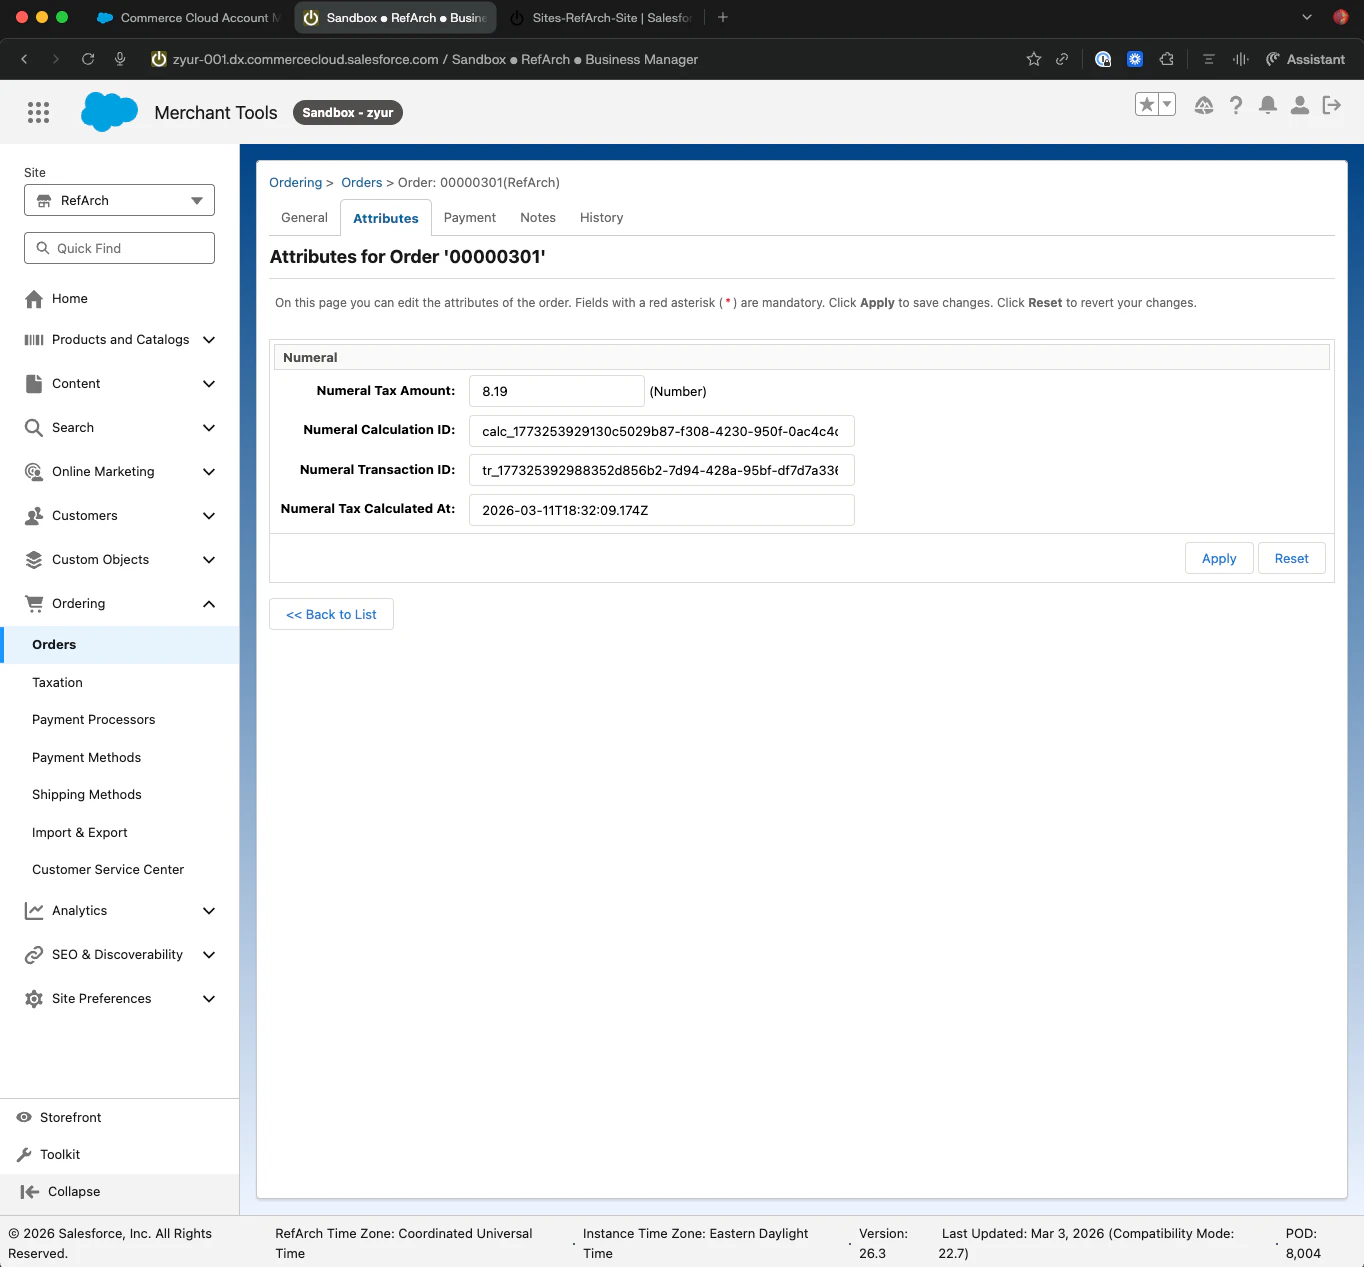
4. Verify the order’s custom attributes
Open the order in Business Manager and confirm the fourc_numeral_* custom attributes are populated.
5. Add the connection in Numeral
In your Numeral dashboard under Settings → Integrations → Salesforce Commerce Cloud, click Add Connection and provide the seven values you captured in Phase 1.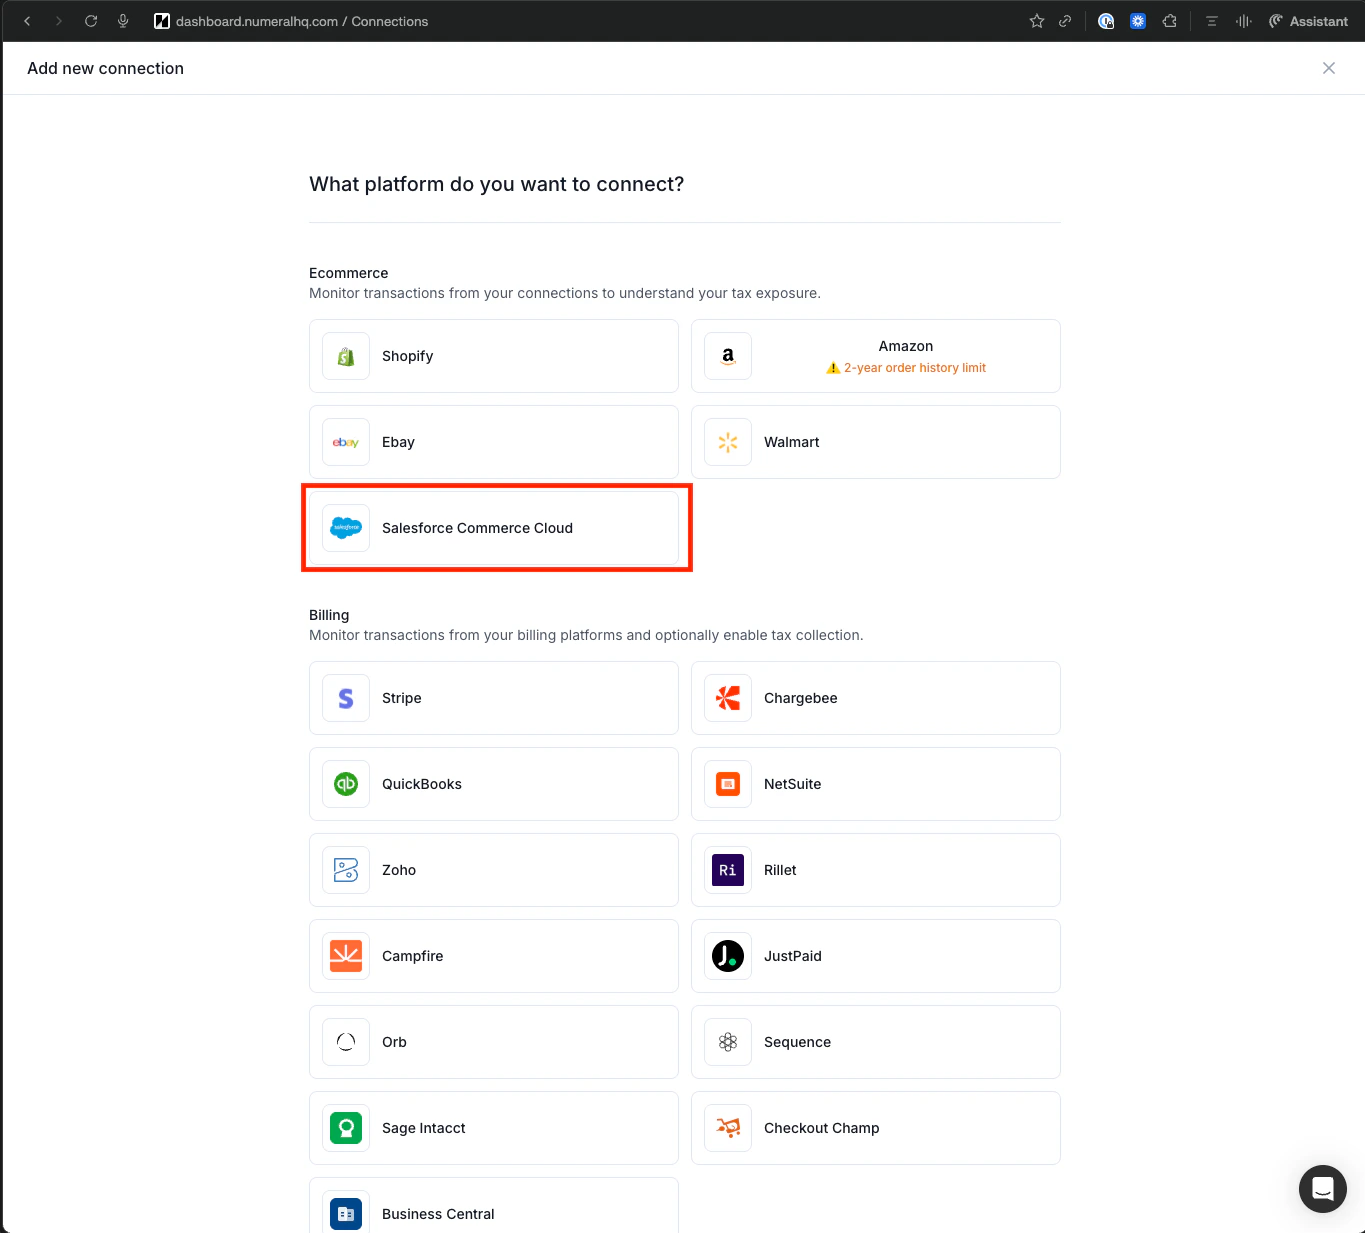
6. Generate API keys
Numeral generates ask_test_* API key for your sandbox. Once you’re ready for production, generate a sk_prod_* key and update c_numeralApiKey in your production site preferences.
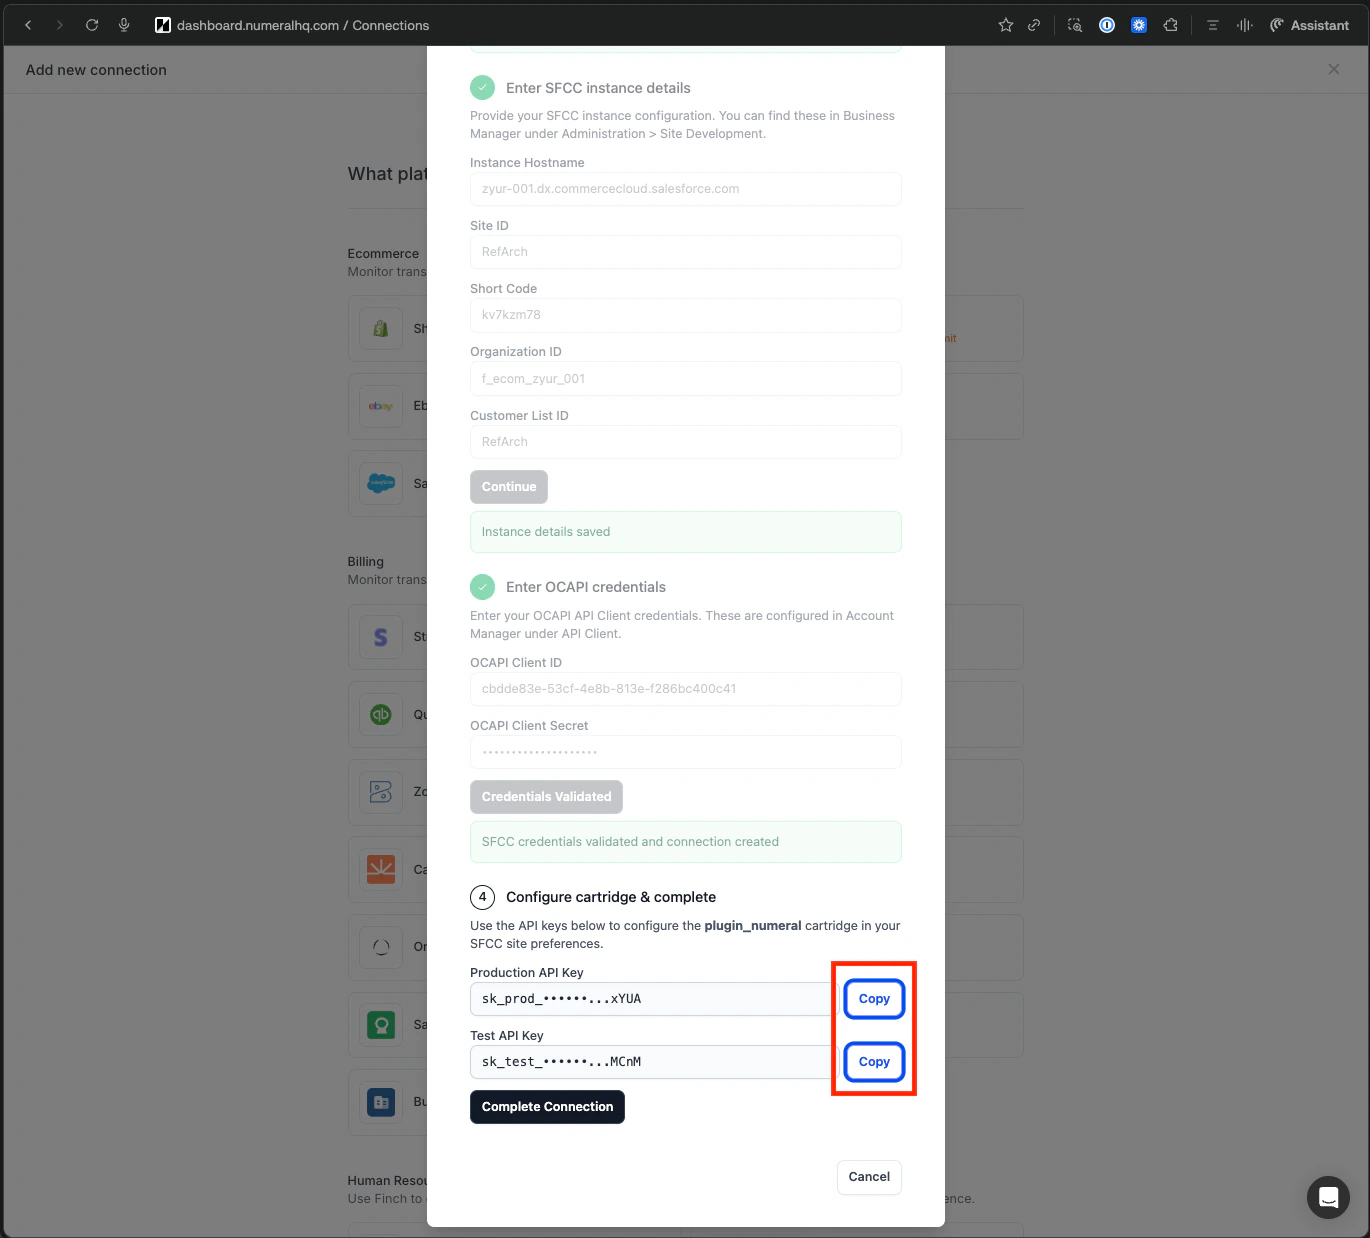
If you operate multiple sites or storefronts, create a separate Numeral connection per site so each site has its own API key and transaction history.
Troubleshooting
Tax not appearing at checkout
Tax not appearing at checkout
Confirm
plugin_numeral is the first entry in the cartridge path and the API key in c_numeralApiKey matches the environment (test vs. production). Check Custom Log Settings for HTTP errors.WebDAV upload fails or appears read-only
WebDAV upload fails or appears read-only
macOS Finder mounts WebDAV read-only. Use Cyberduck instead. Confirm your Business Manager user has WebDAV file access enabled.
OCAPI scope errors
OCAPI scope errors
Verify all seven scopes are listed under Allowed Scopes on the API client and that the OCAPI Shop API and Data API JSON configs have been imported in Business Manager.
Order tax attributes are blank
Order tax attributes are blank
The cartridge writes attributes only after a successful tax calculation. If logs show a calculation error (timeout, network issue, invalid address), the attributes will not populate.